This is the 14th set that comes out from the LEGO Ideas Program and BUGS are honour to have the chance to do a review of this set ahead of the public launch.
If you only have few minutes to spare, you can either watch the review video below, or skip right to view and play around with the 360 view of the final build. Otherwise, you can scroll down and read through the details in this post.
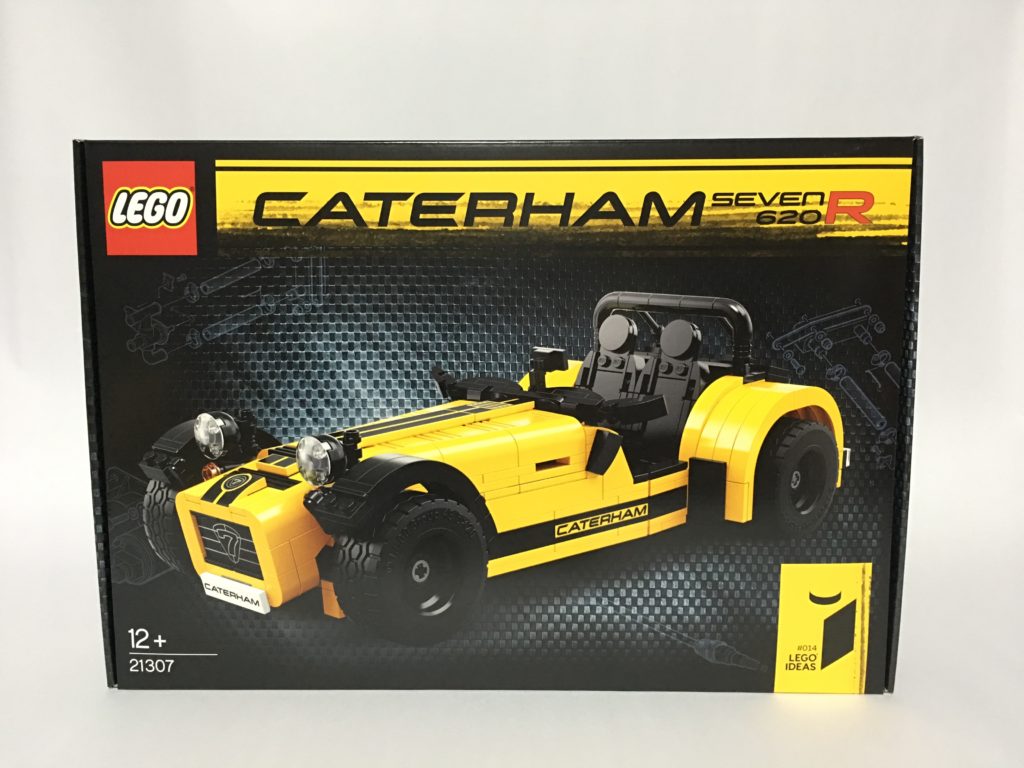
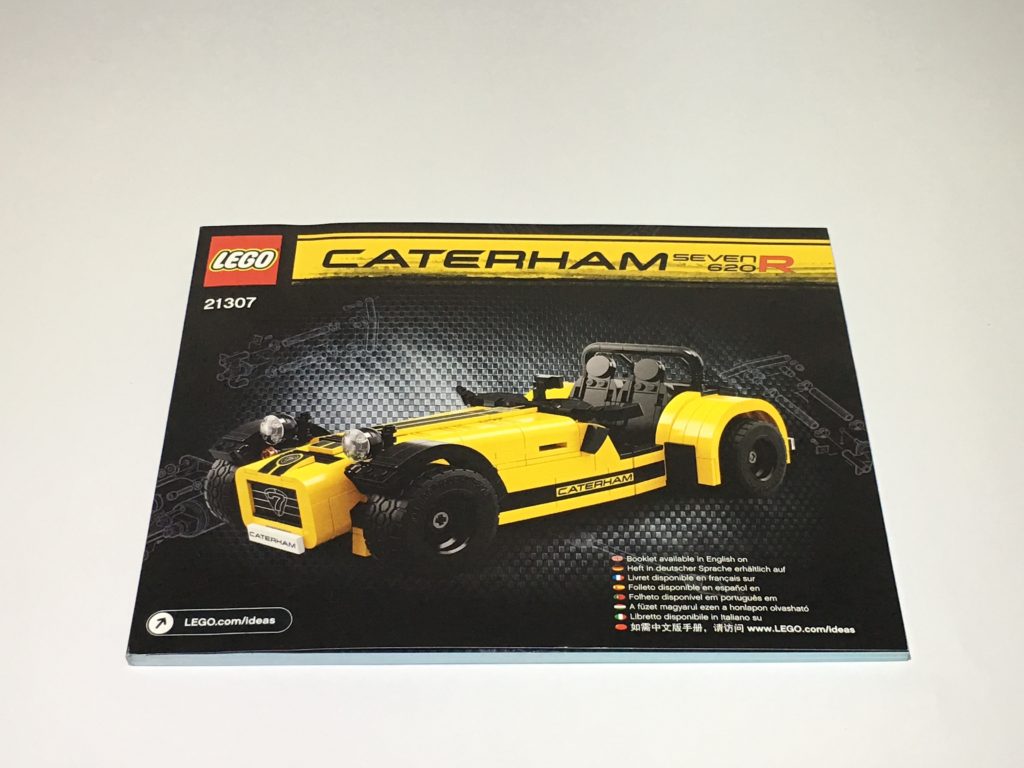
The whole packaging follows the same as the previous Ideas sets, which is quite solid overall. Notice the 014 numbering at the bottom right of the box, are we expecting to hit 100 sets? That’s definitely something to look forward to!
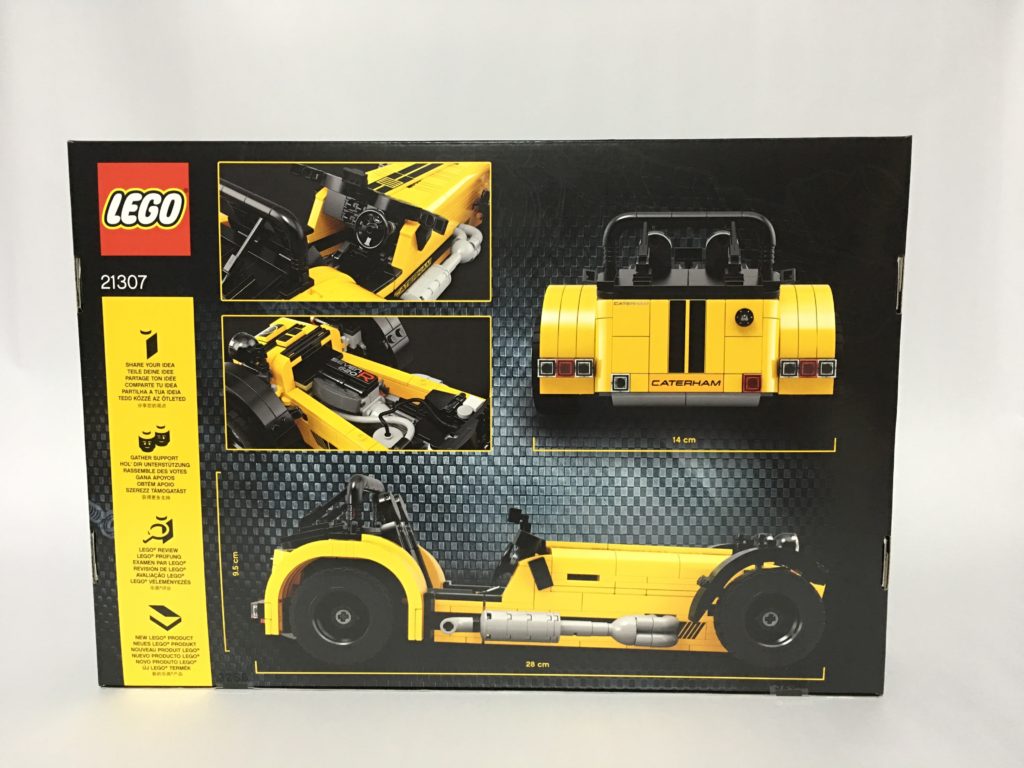
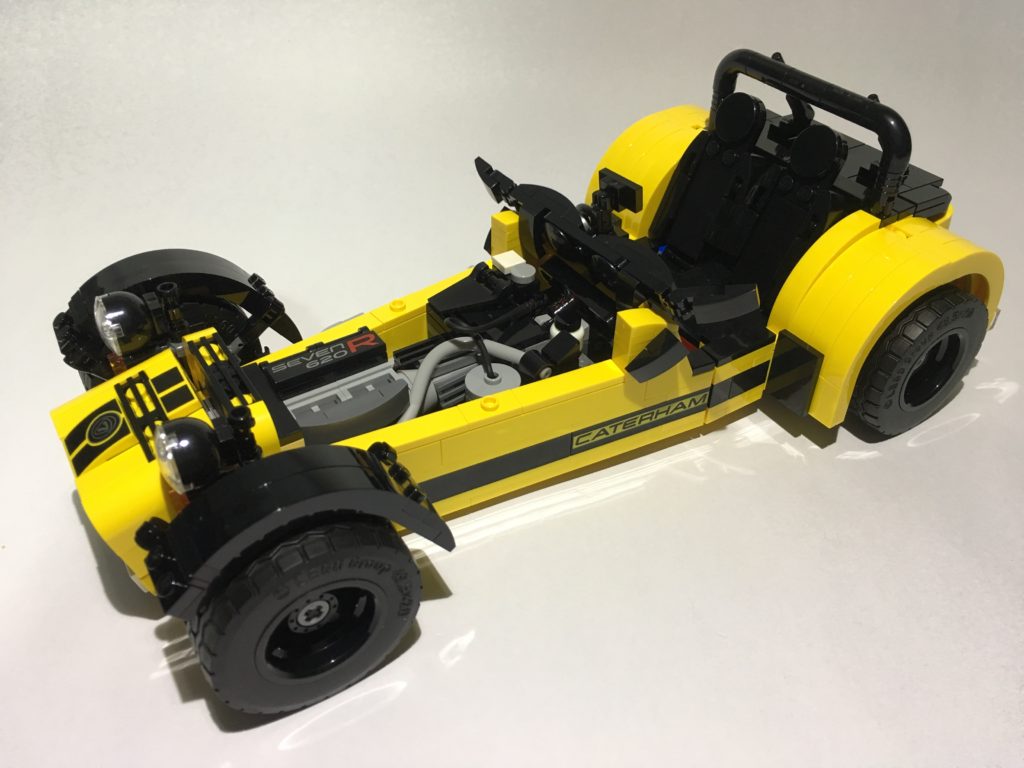
The back of the box has some close up photos of the of the engine interior and the steering wheel. It also has the dimensions of the final build which is 28cm long, 14cm wide and 9.5cm tall. The whole box weighs about 1.02kg.
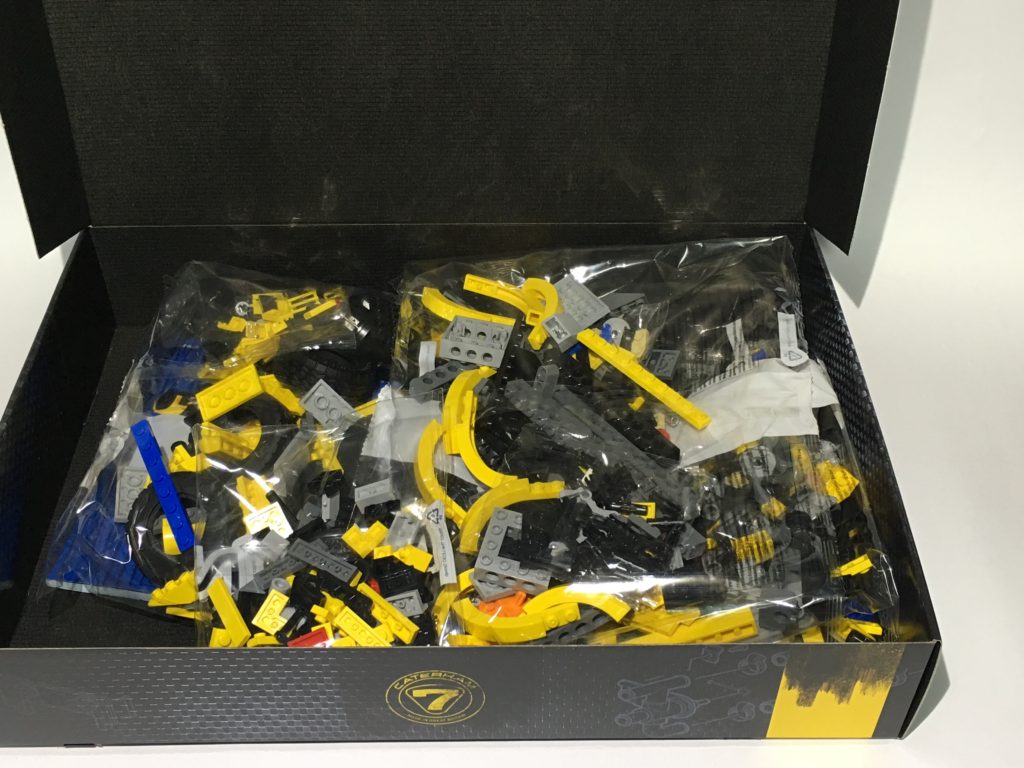
The sight that appears right before your eyes when you opened up the box for the first time. *excited*
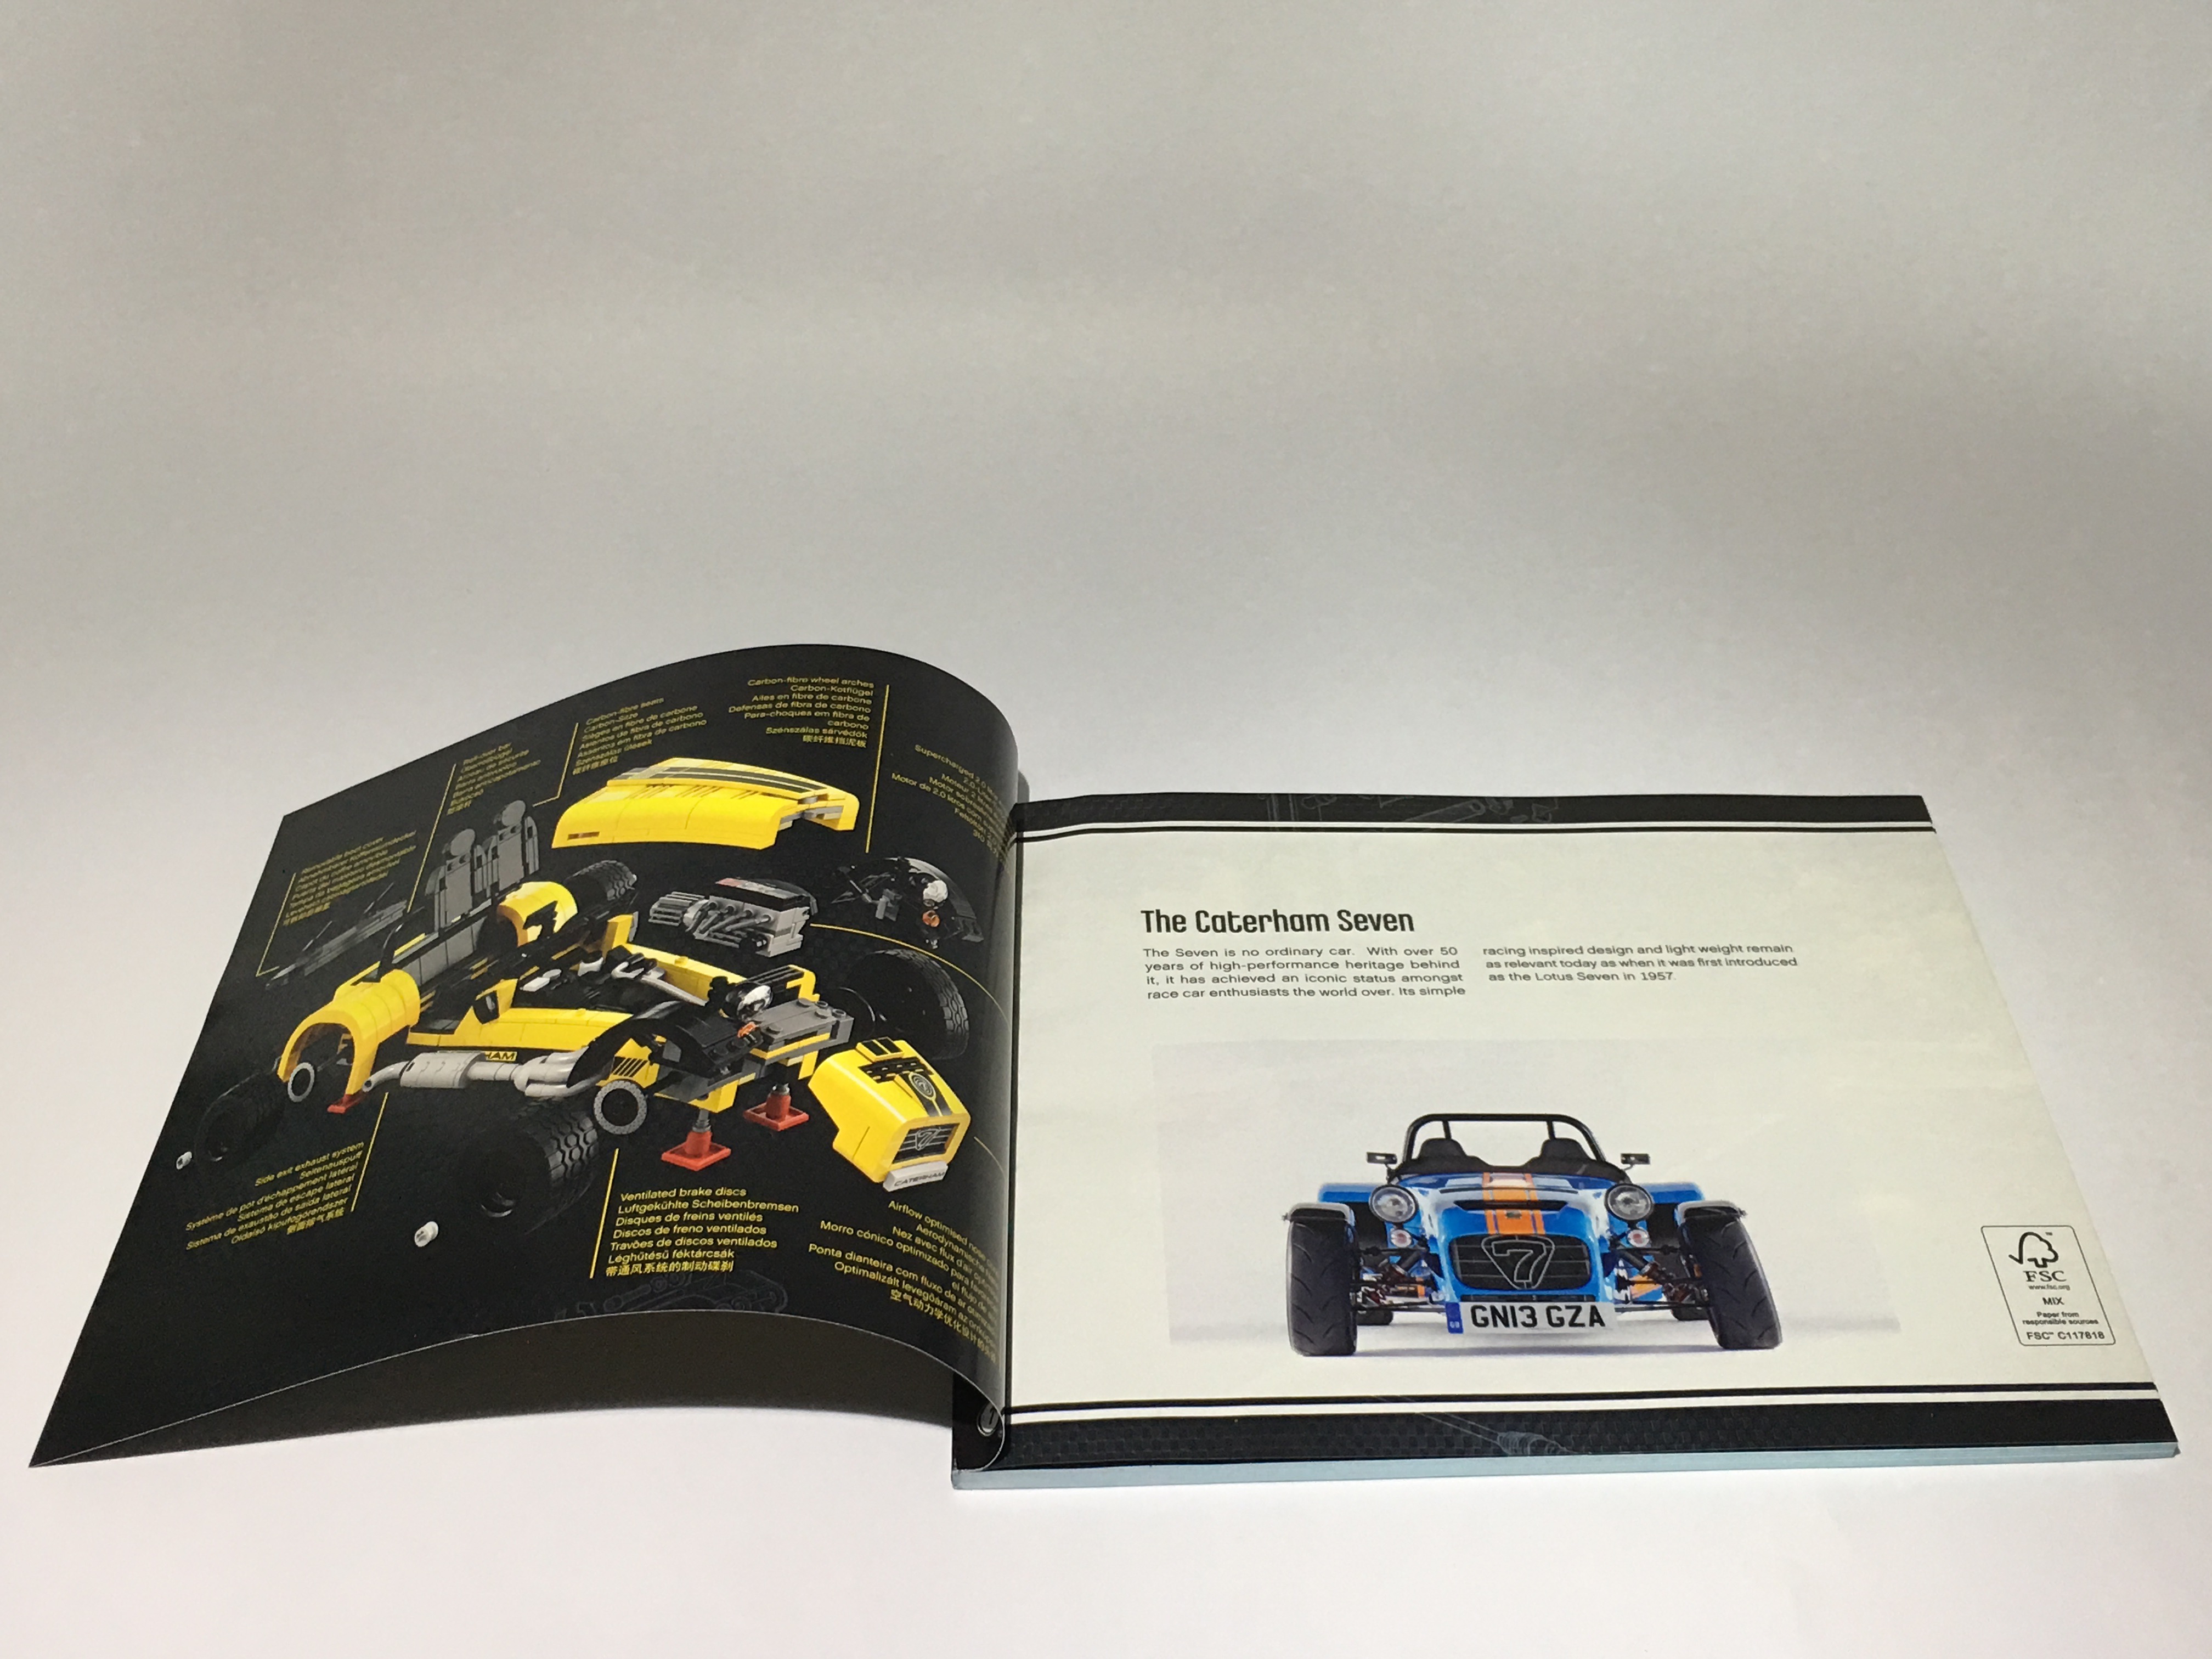
The instructions booklet is 173 pages (just the build instruction) thick and is bind nicely as like the previous series.
The first few pages give us a brief history of The Caterham Seven, and it is interesting to know that the Seven 620R is the most powerful Caterham car to date. This is mainly due to the 310BHP supercharged Ford engine developed by Caterham.

There is a total of 6 packs for this set, numbering 1 to 3. There is also smaller packs in each of the bigger pack for each numbers.

Some photos of the individual packs 1 to 3 (click for a zoom-in view)
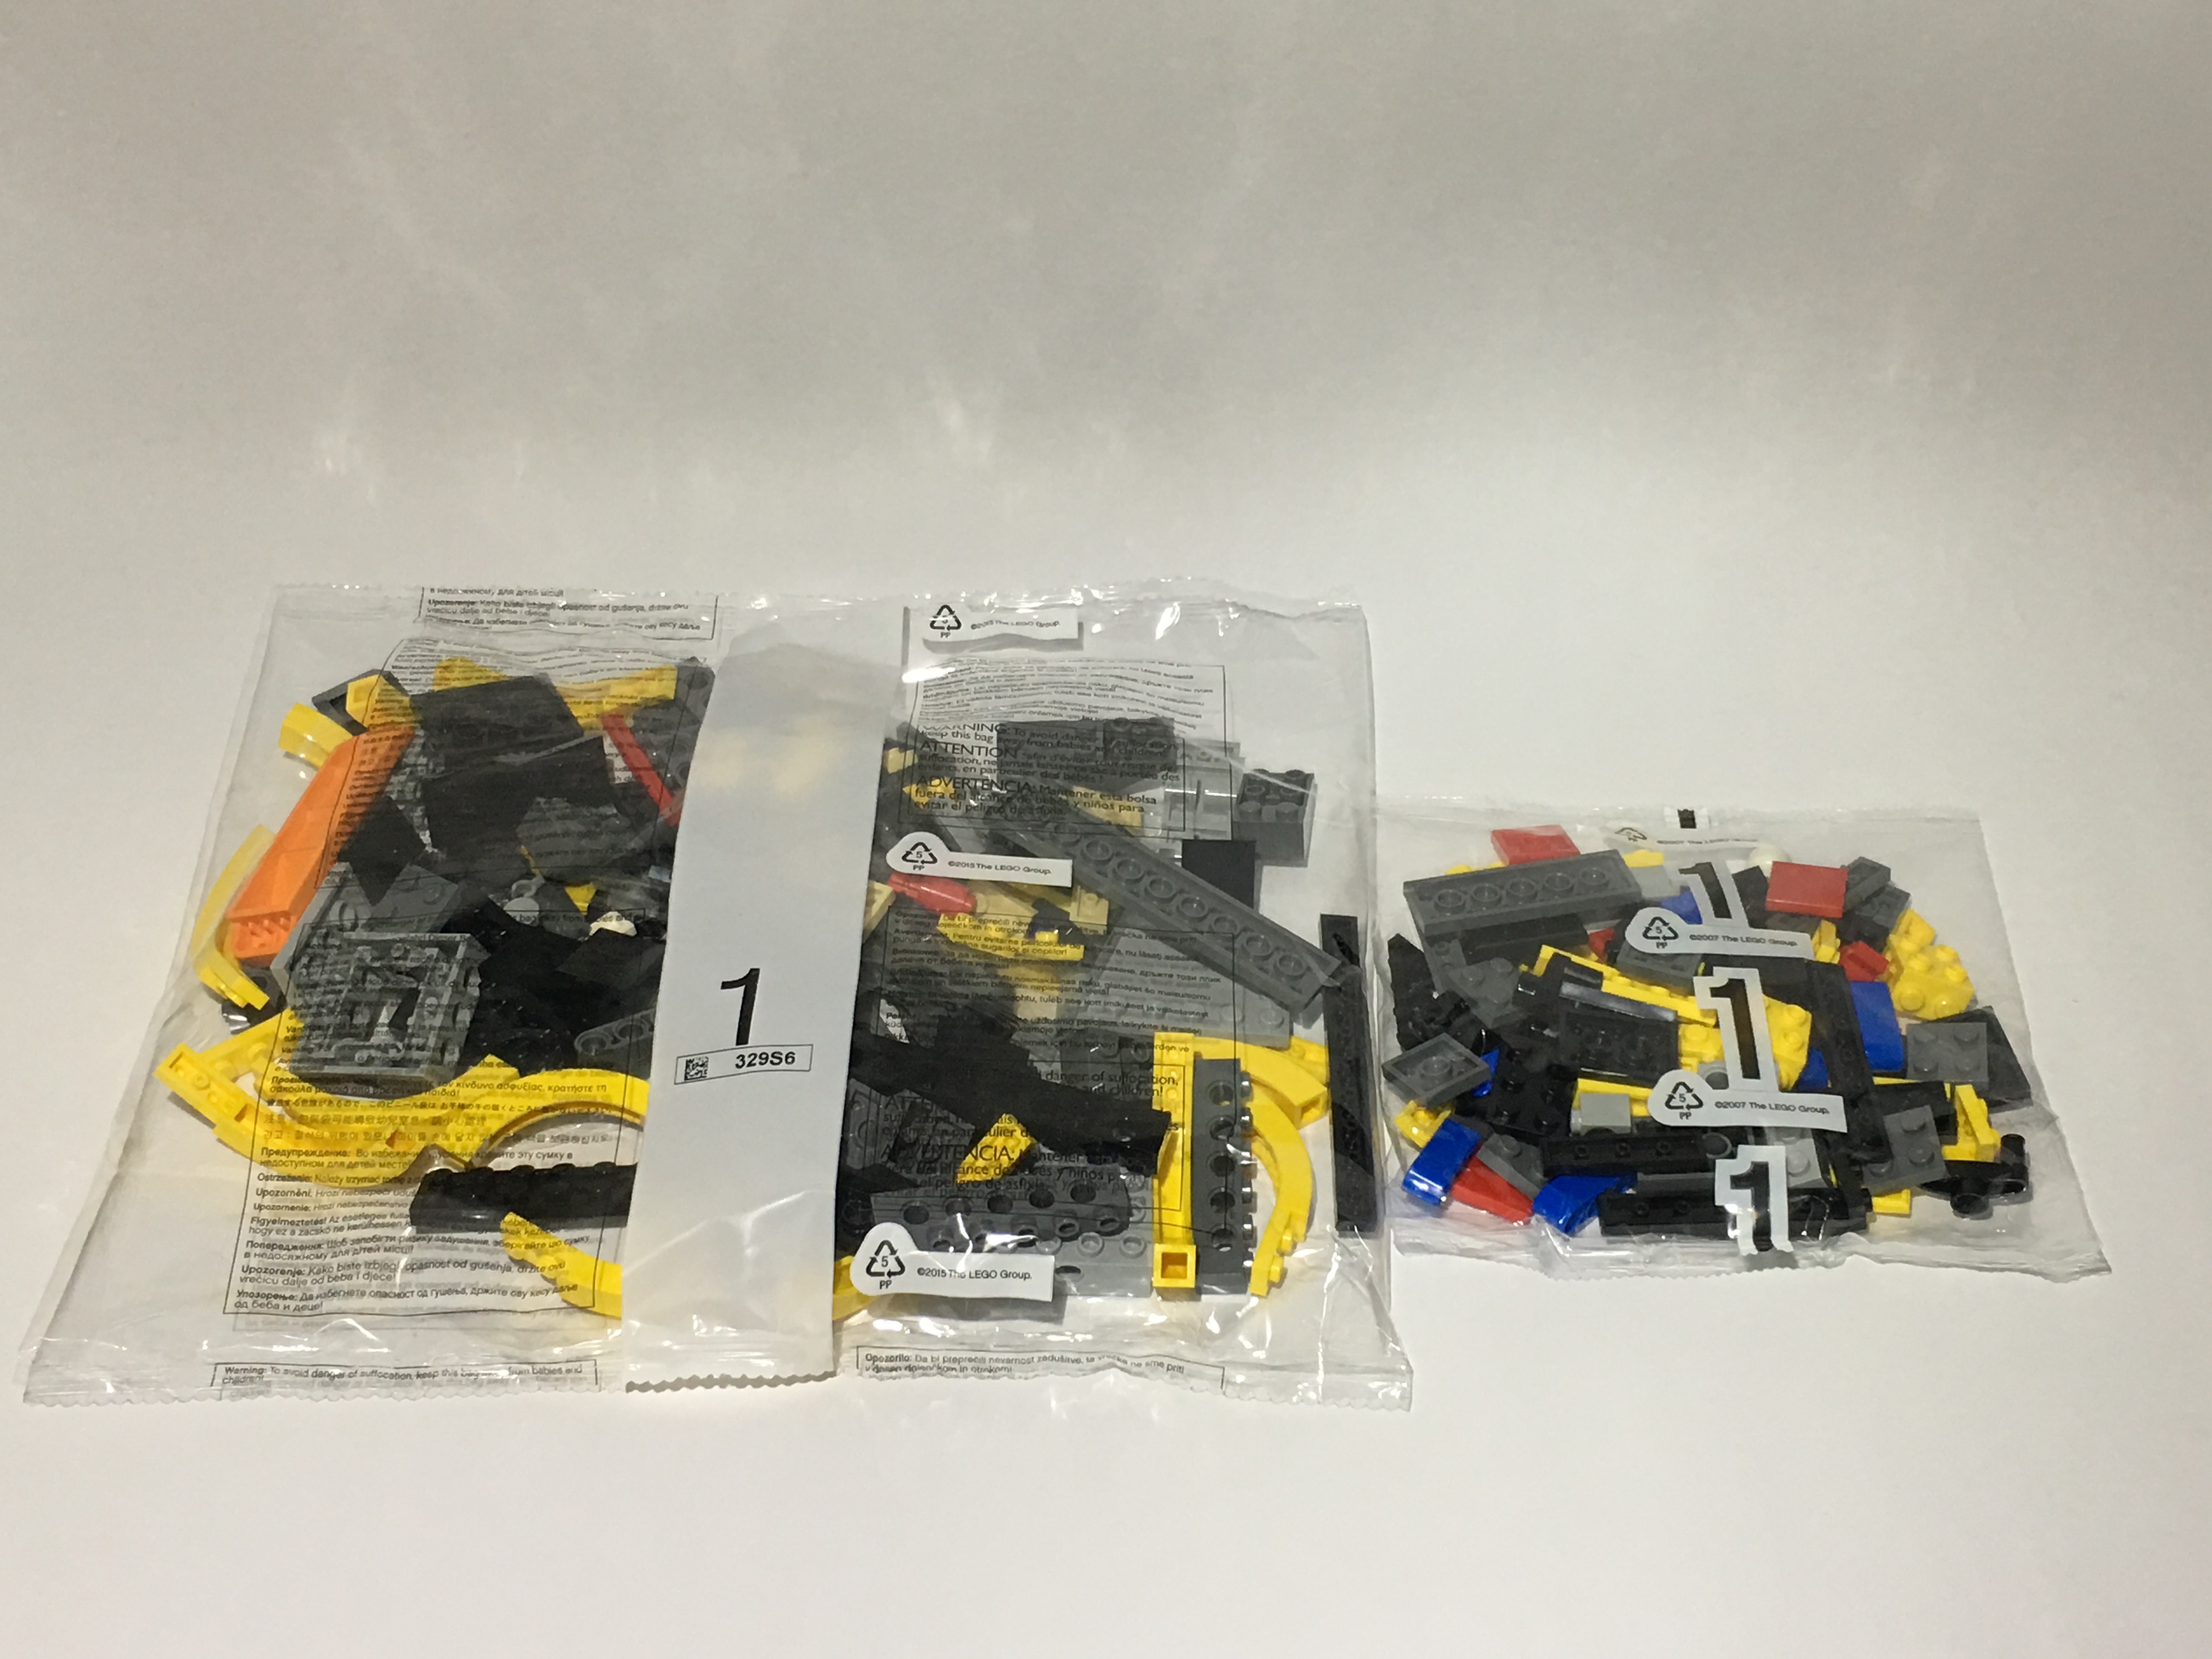


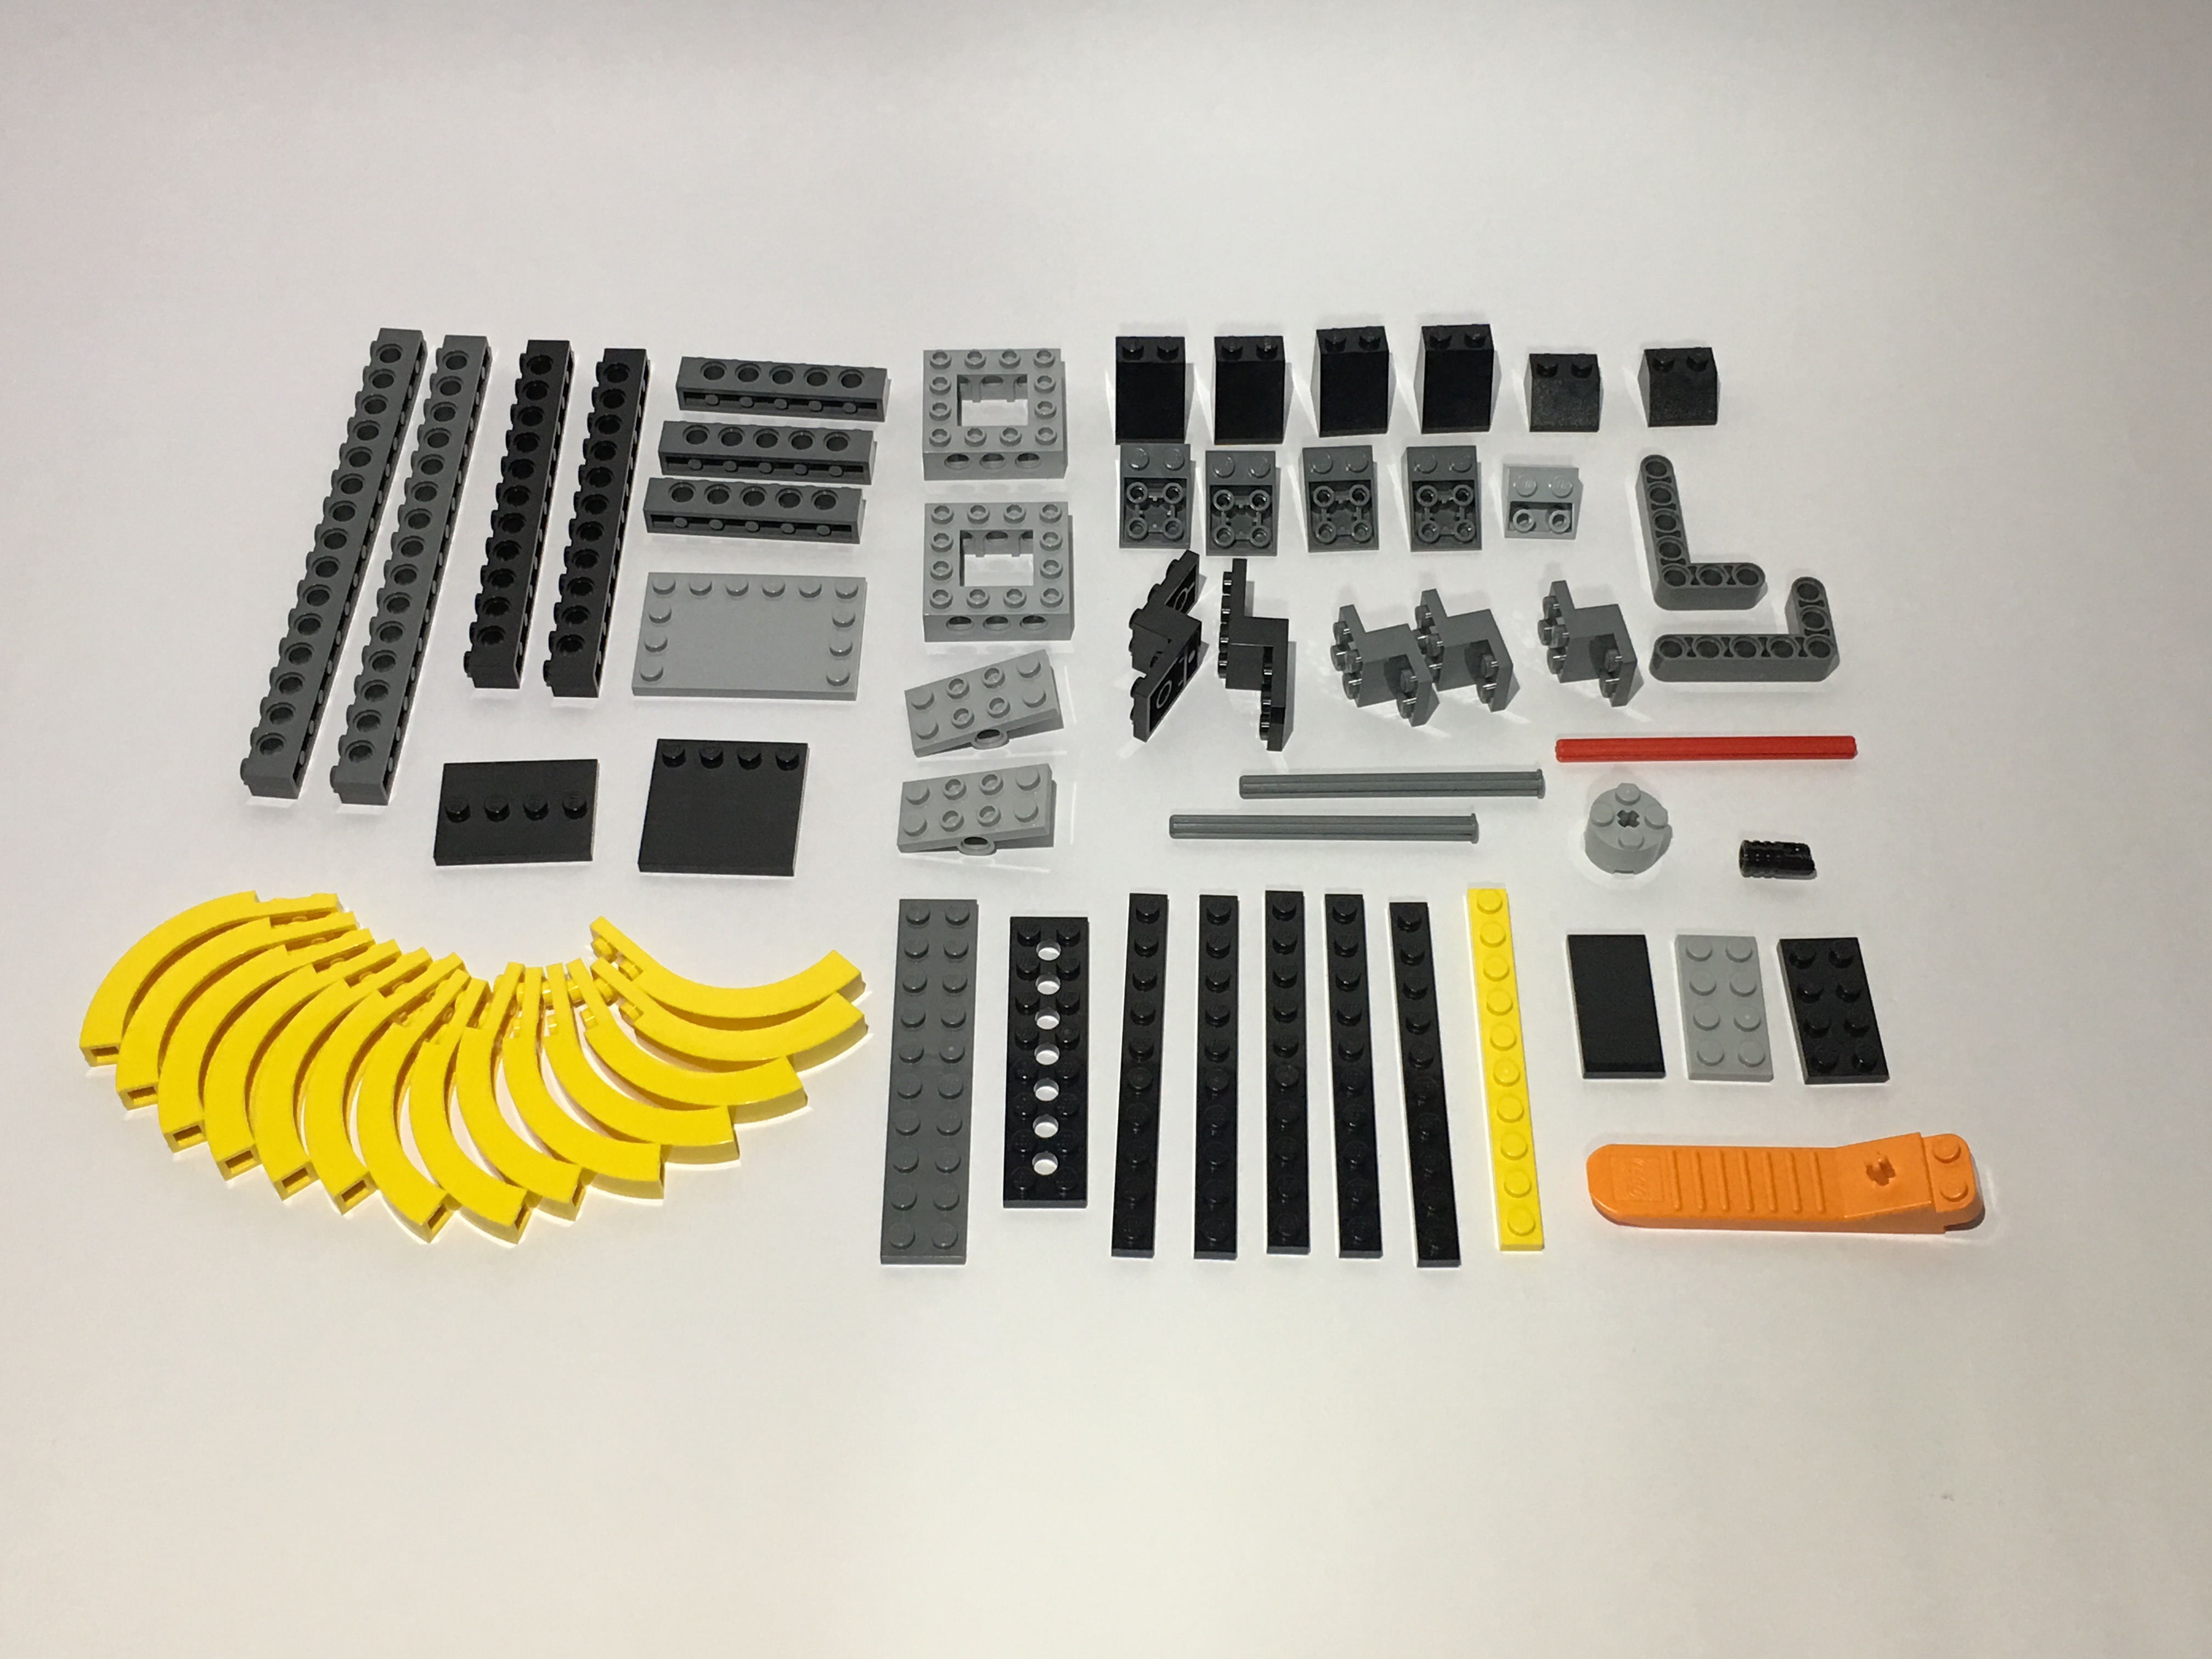
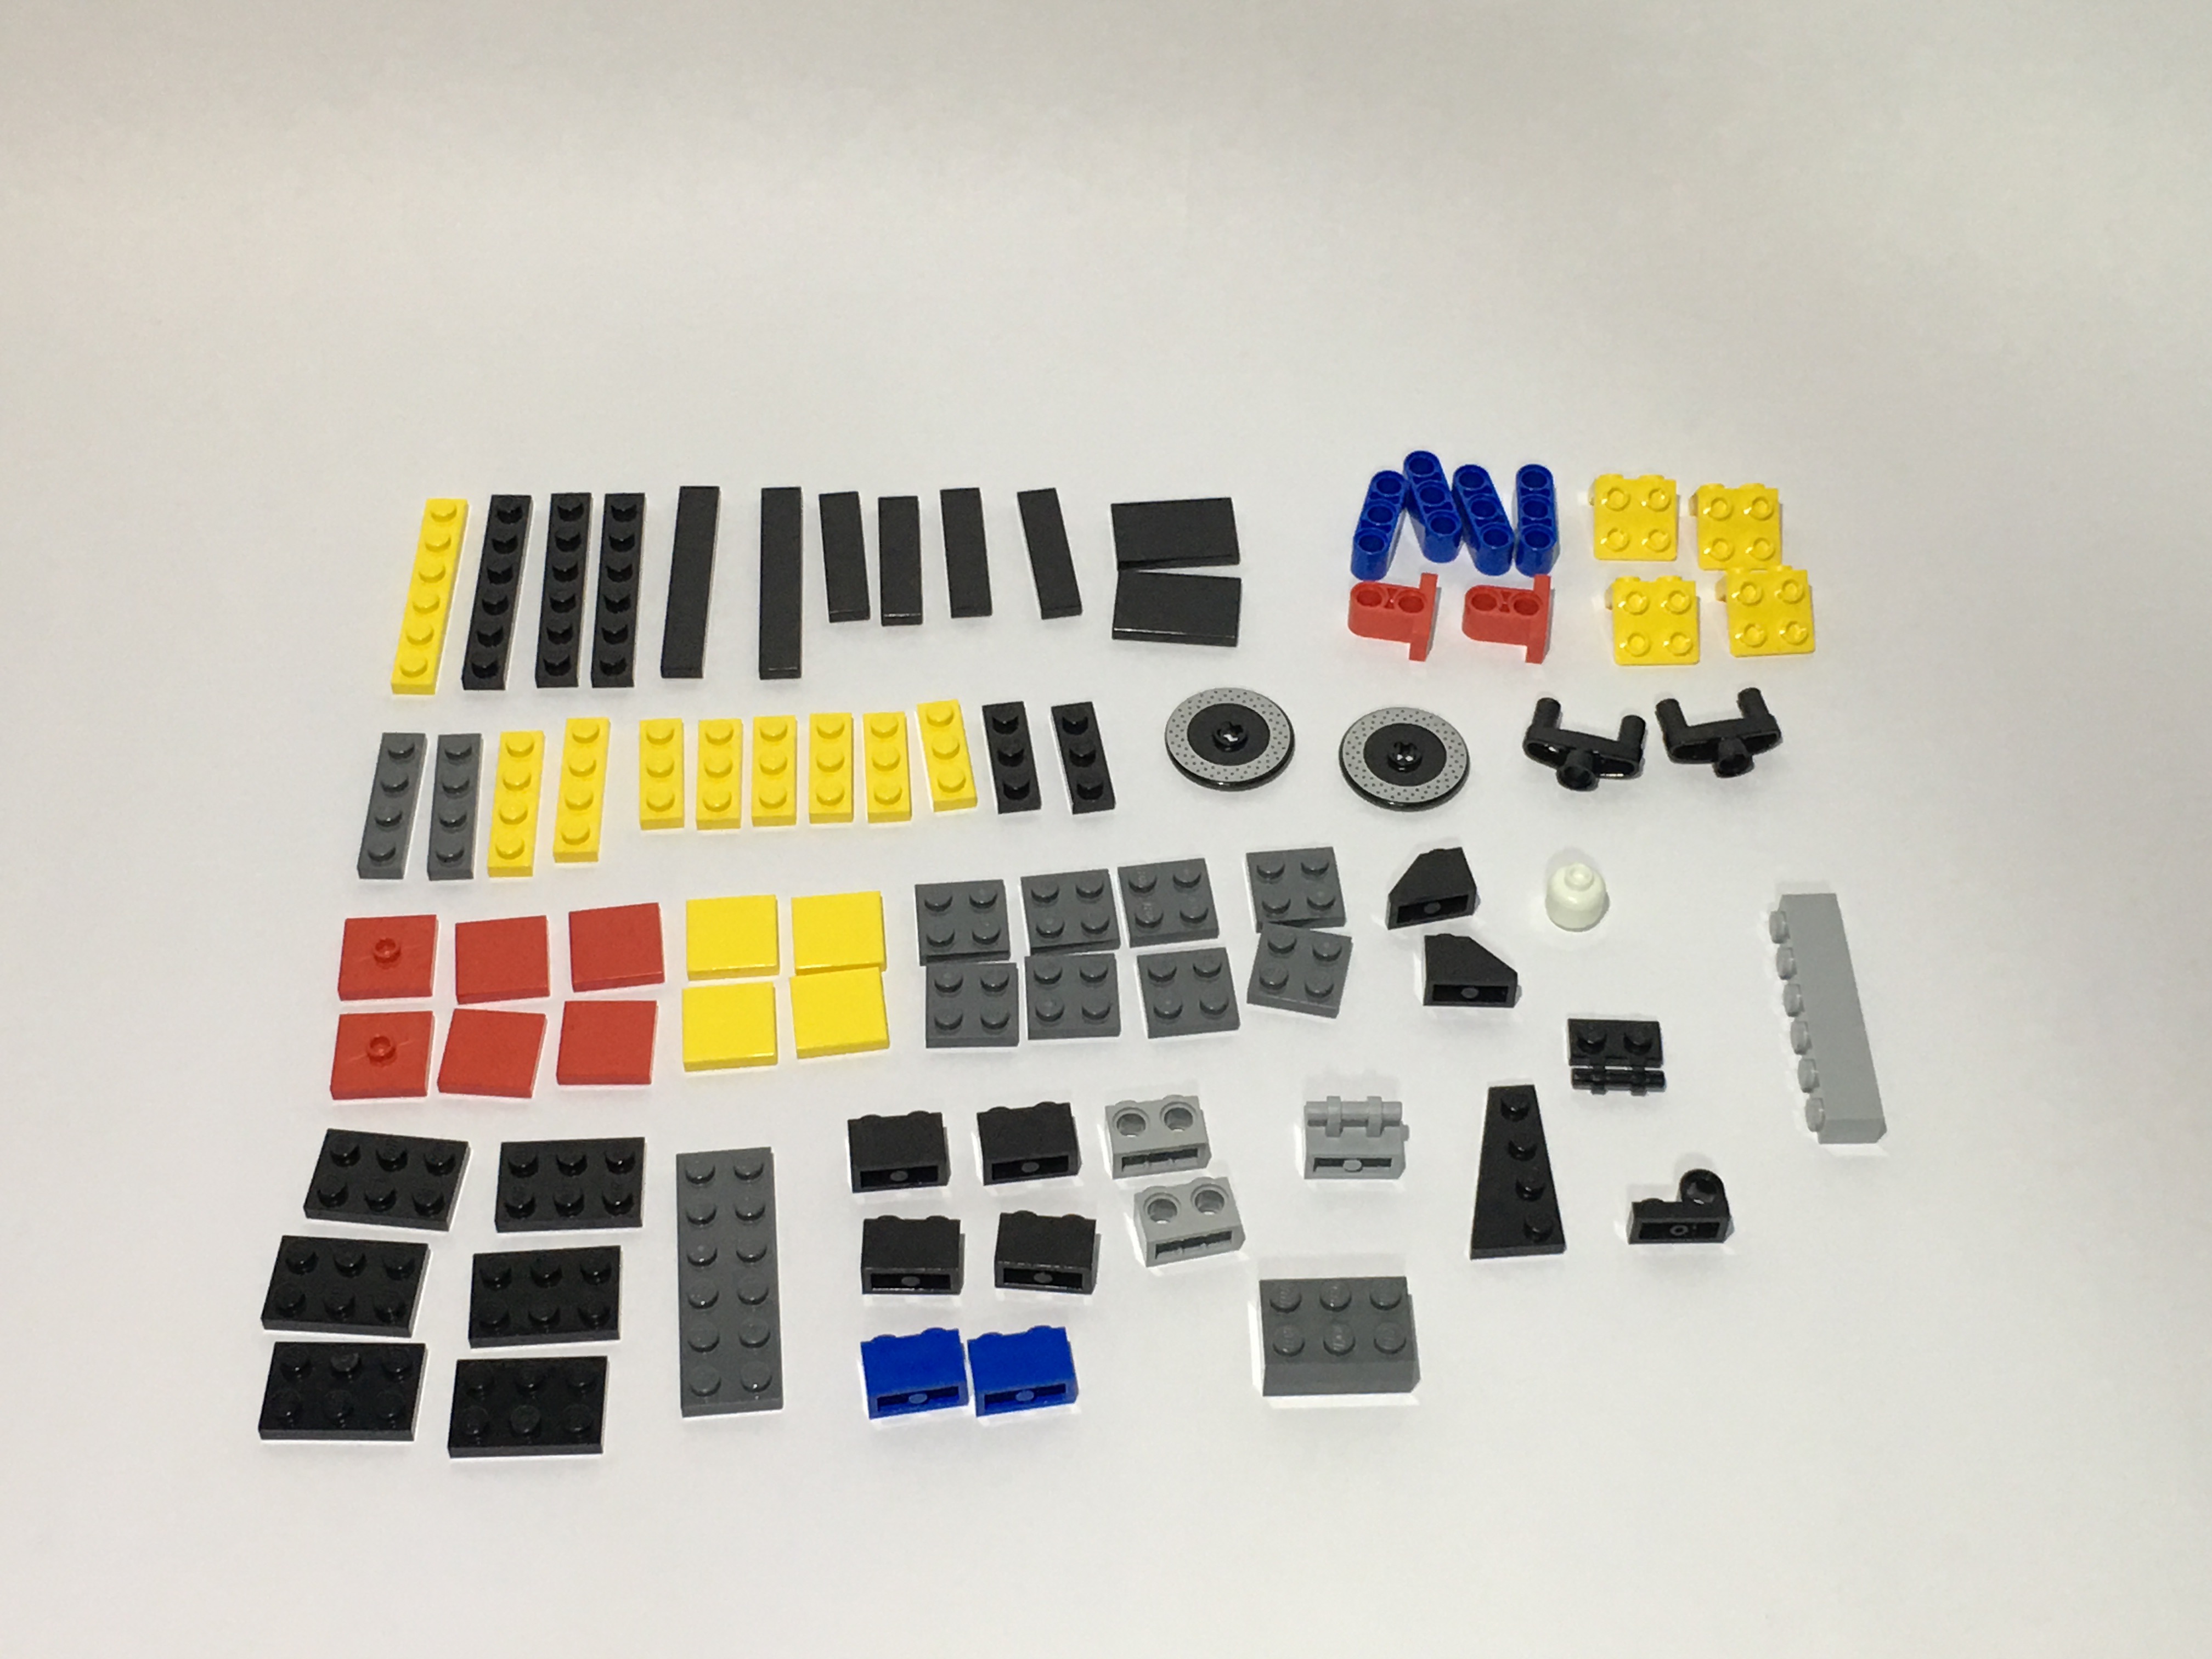
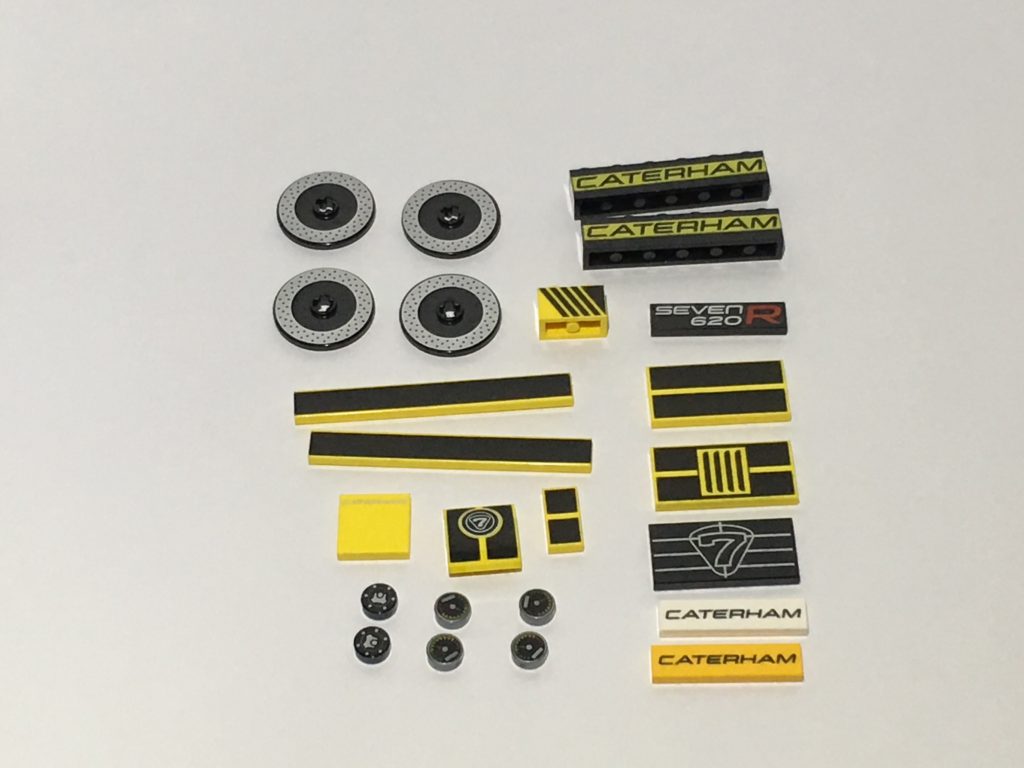
Below are the elements in bag 1.

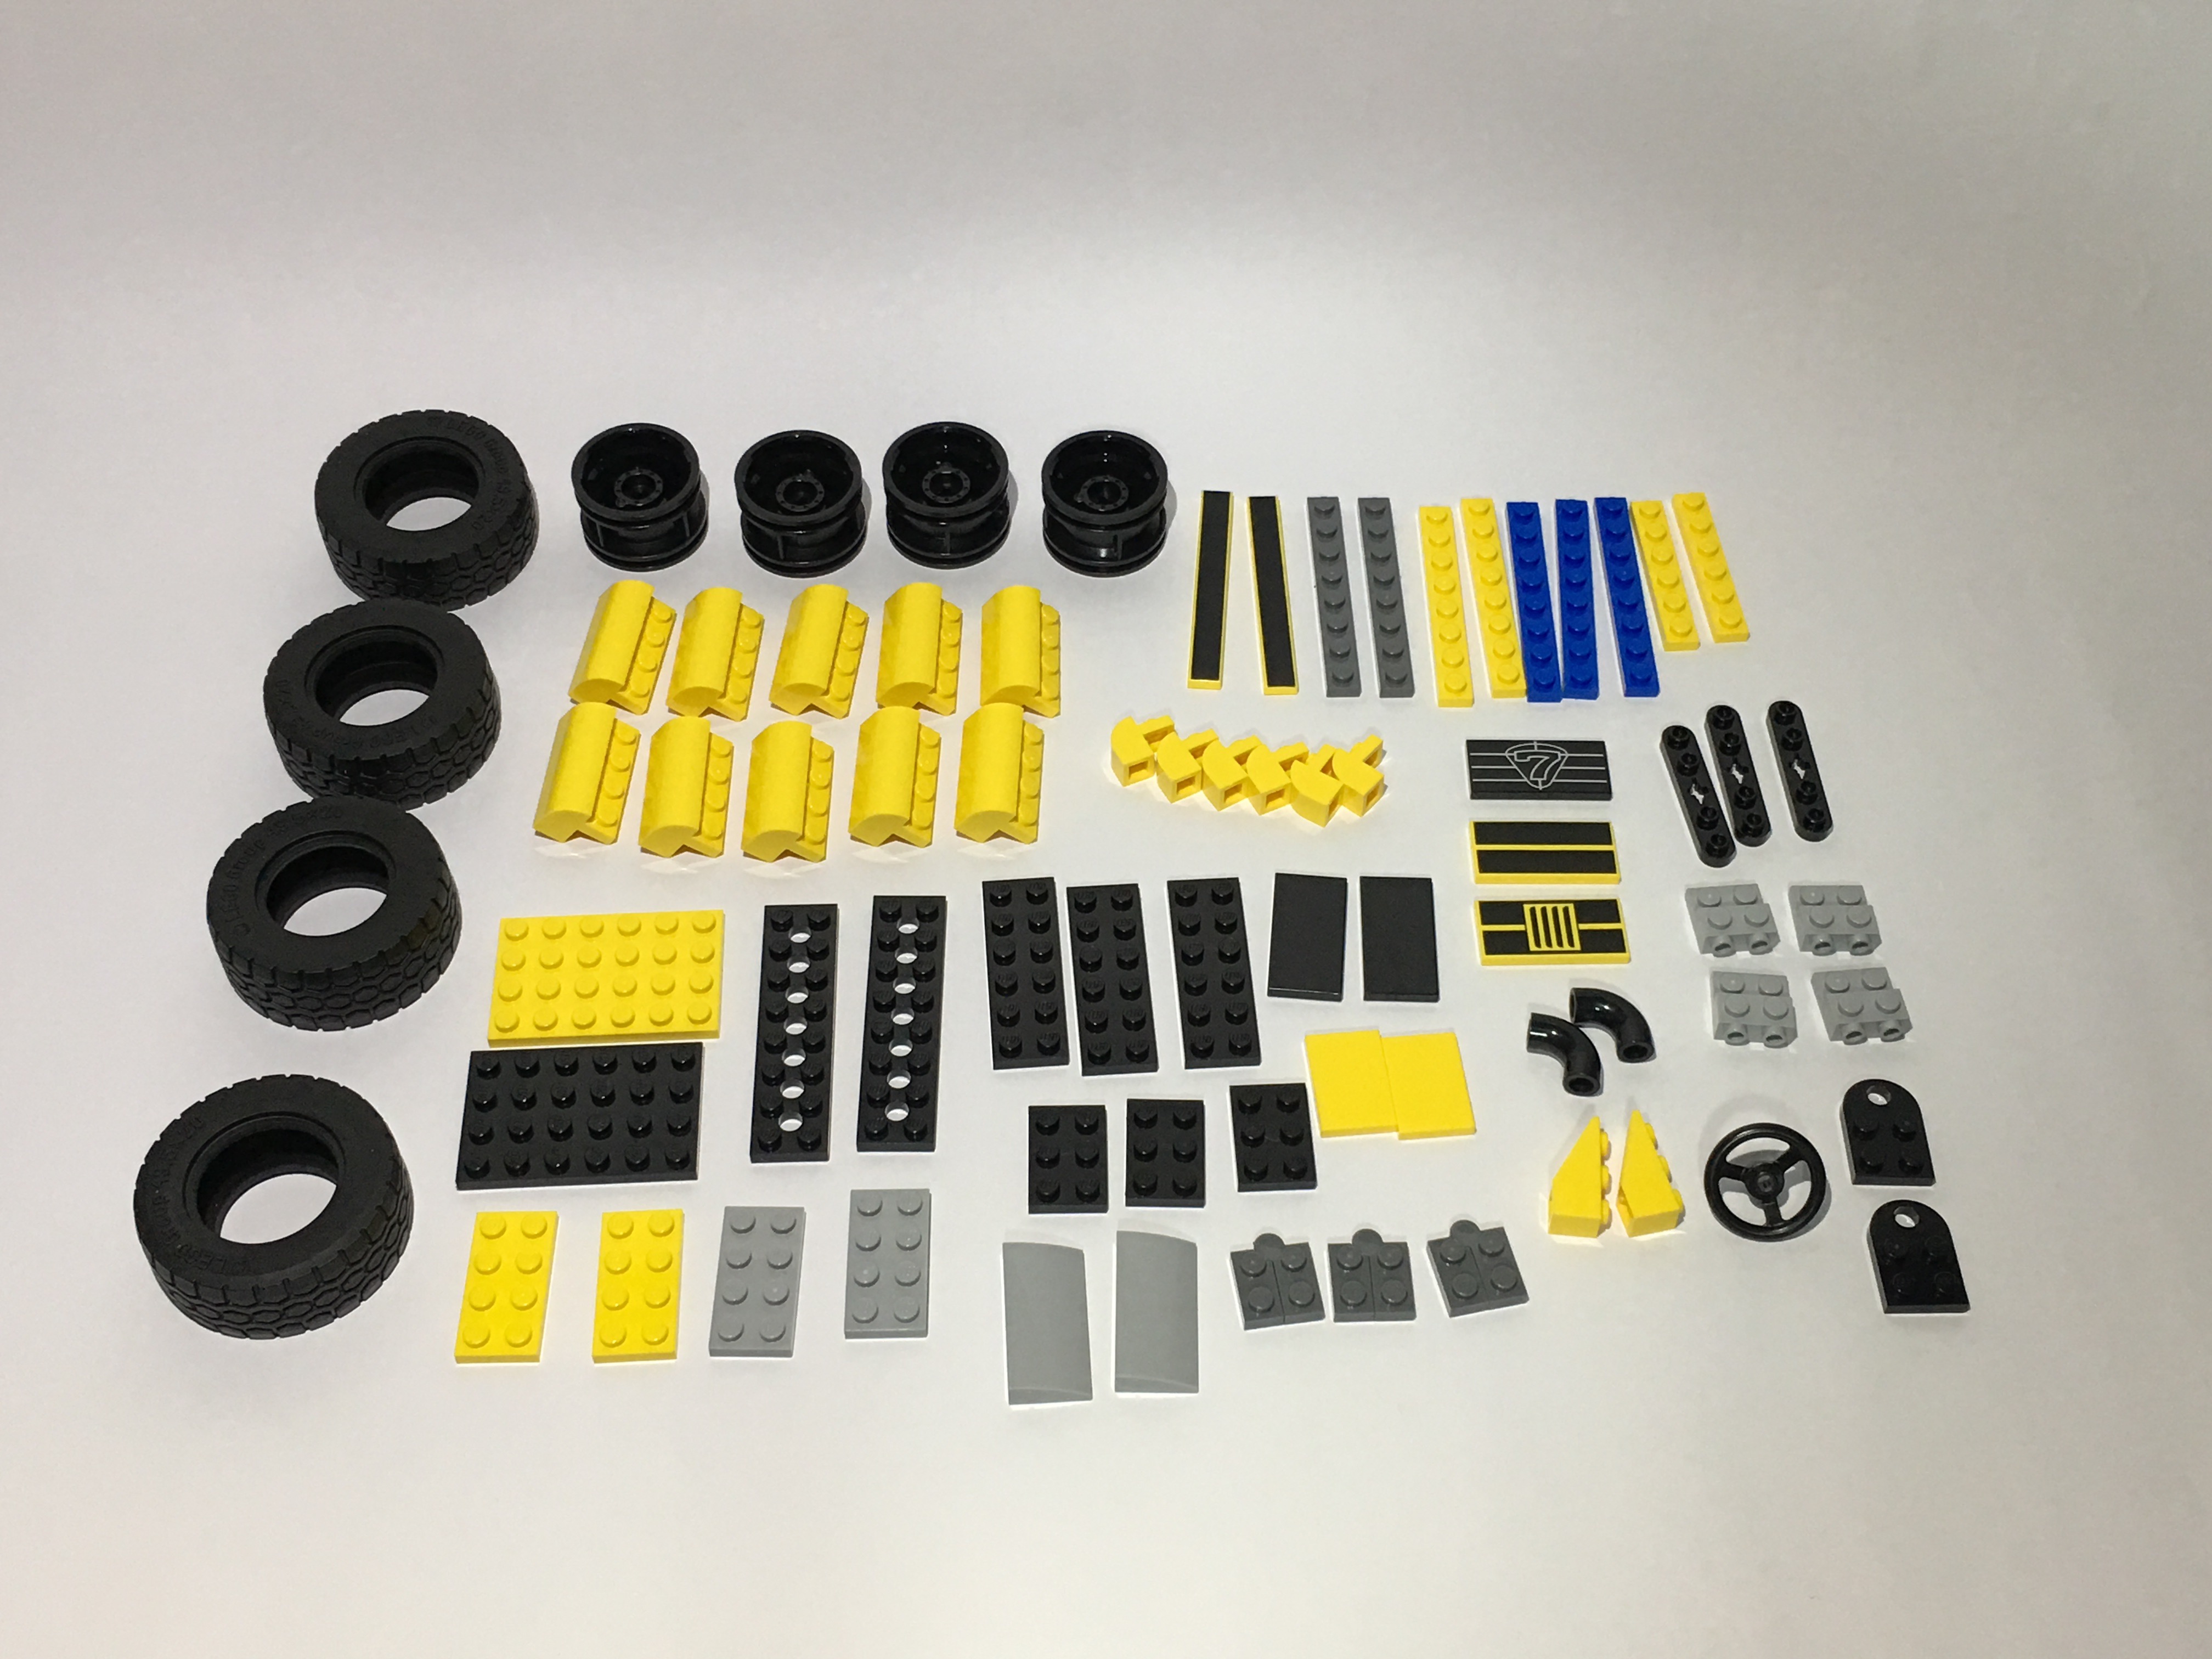
Below are the elements in bag 2.


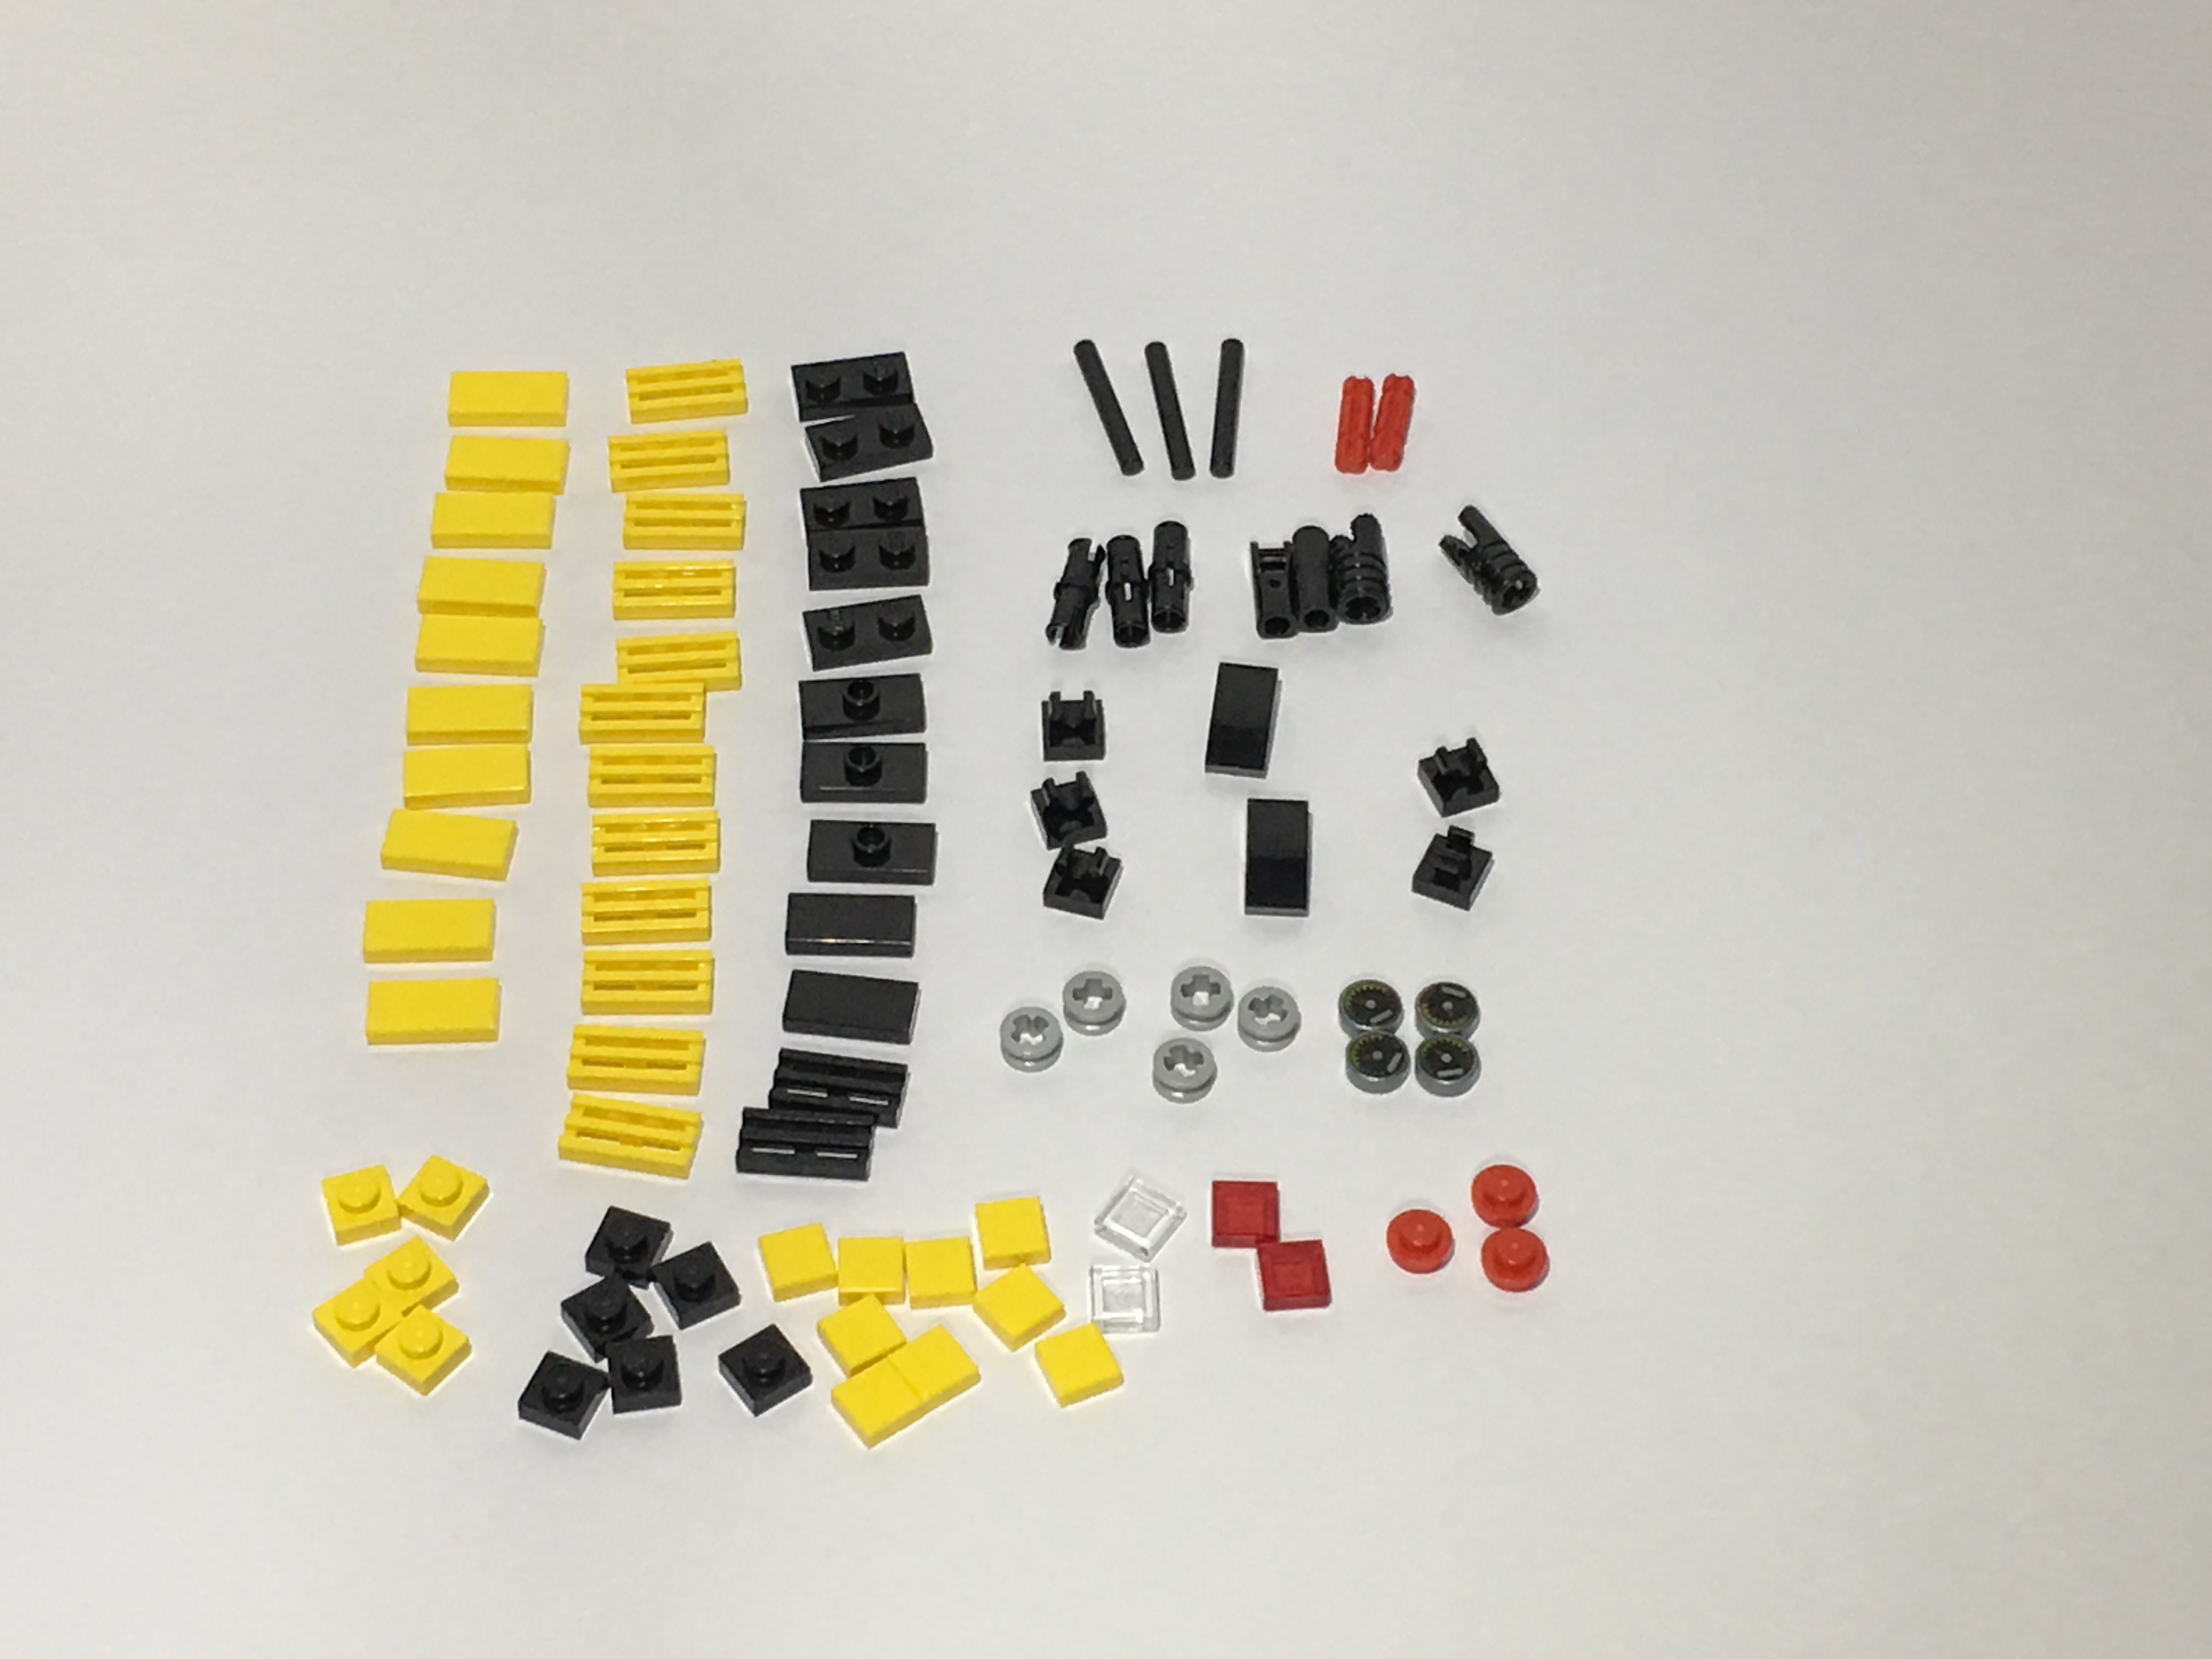
Below are the elements in bag 3.
If you are wondering if there are any stickers that you have to apply for this set, then i’m sure you be happy to know that there are no stickers at all. Yes, no stickers! Checked out the printed elements that are very unique just for this set.
As the building process is captured using time-lapse technology, I actually forgot to take photos of the finished build after bag 1 and 2 respectively. Please refer to the video at the top of this post to know the build stage after bag 1 and 2.
The whole building process takes about 1hr and 20mins, at a normal pace. It could be a bit shorter if not for some initial mistakes along the way which required additional efforts to rectify it. The weight of the final build is about 580g.
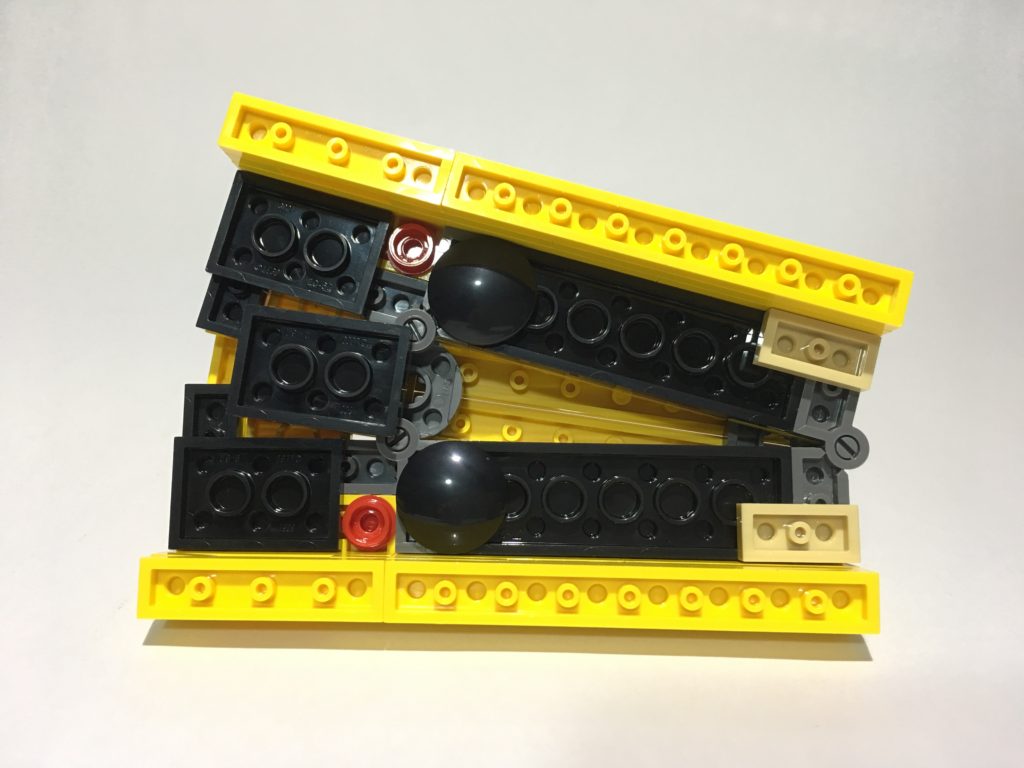
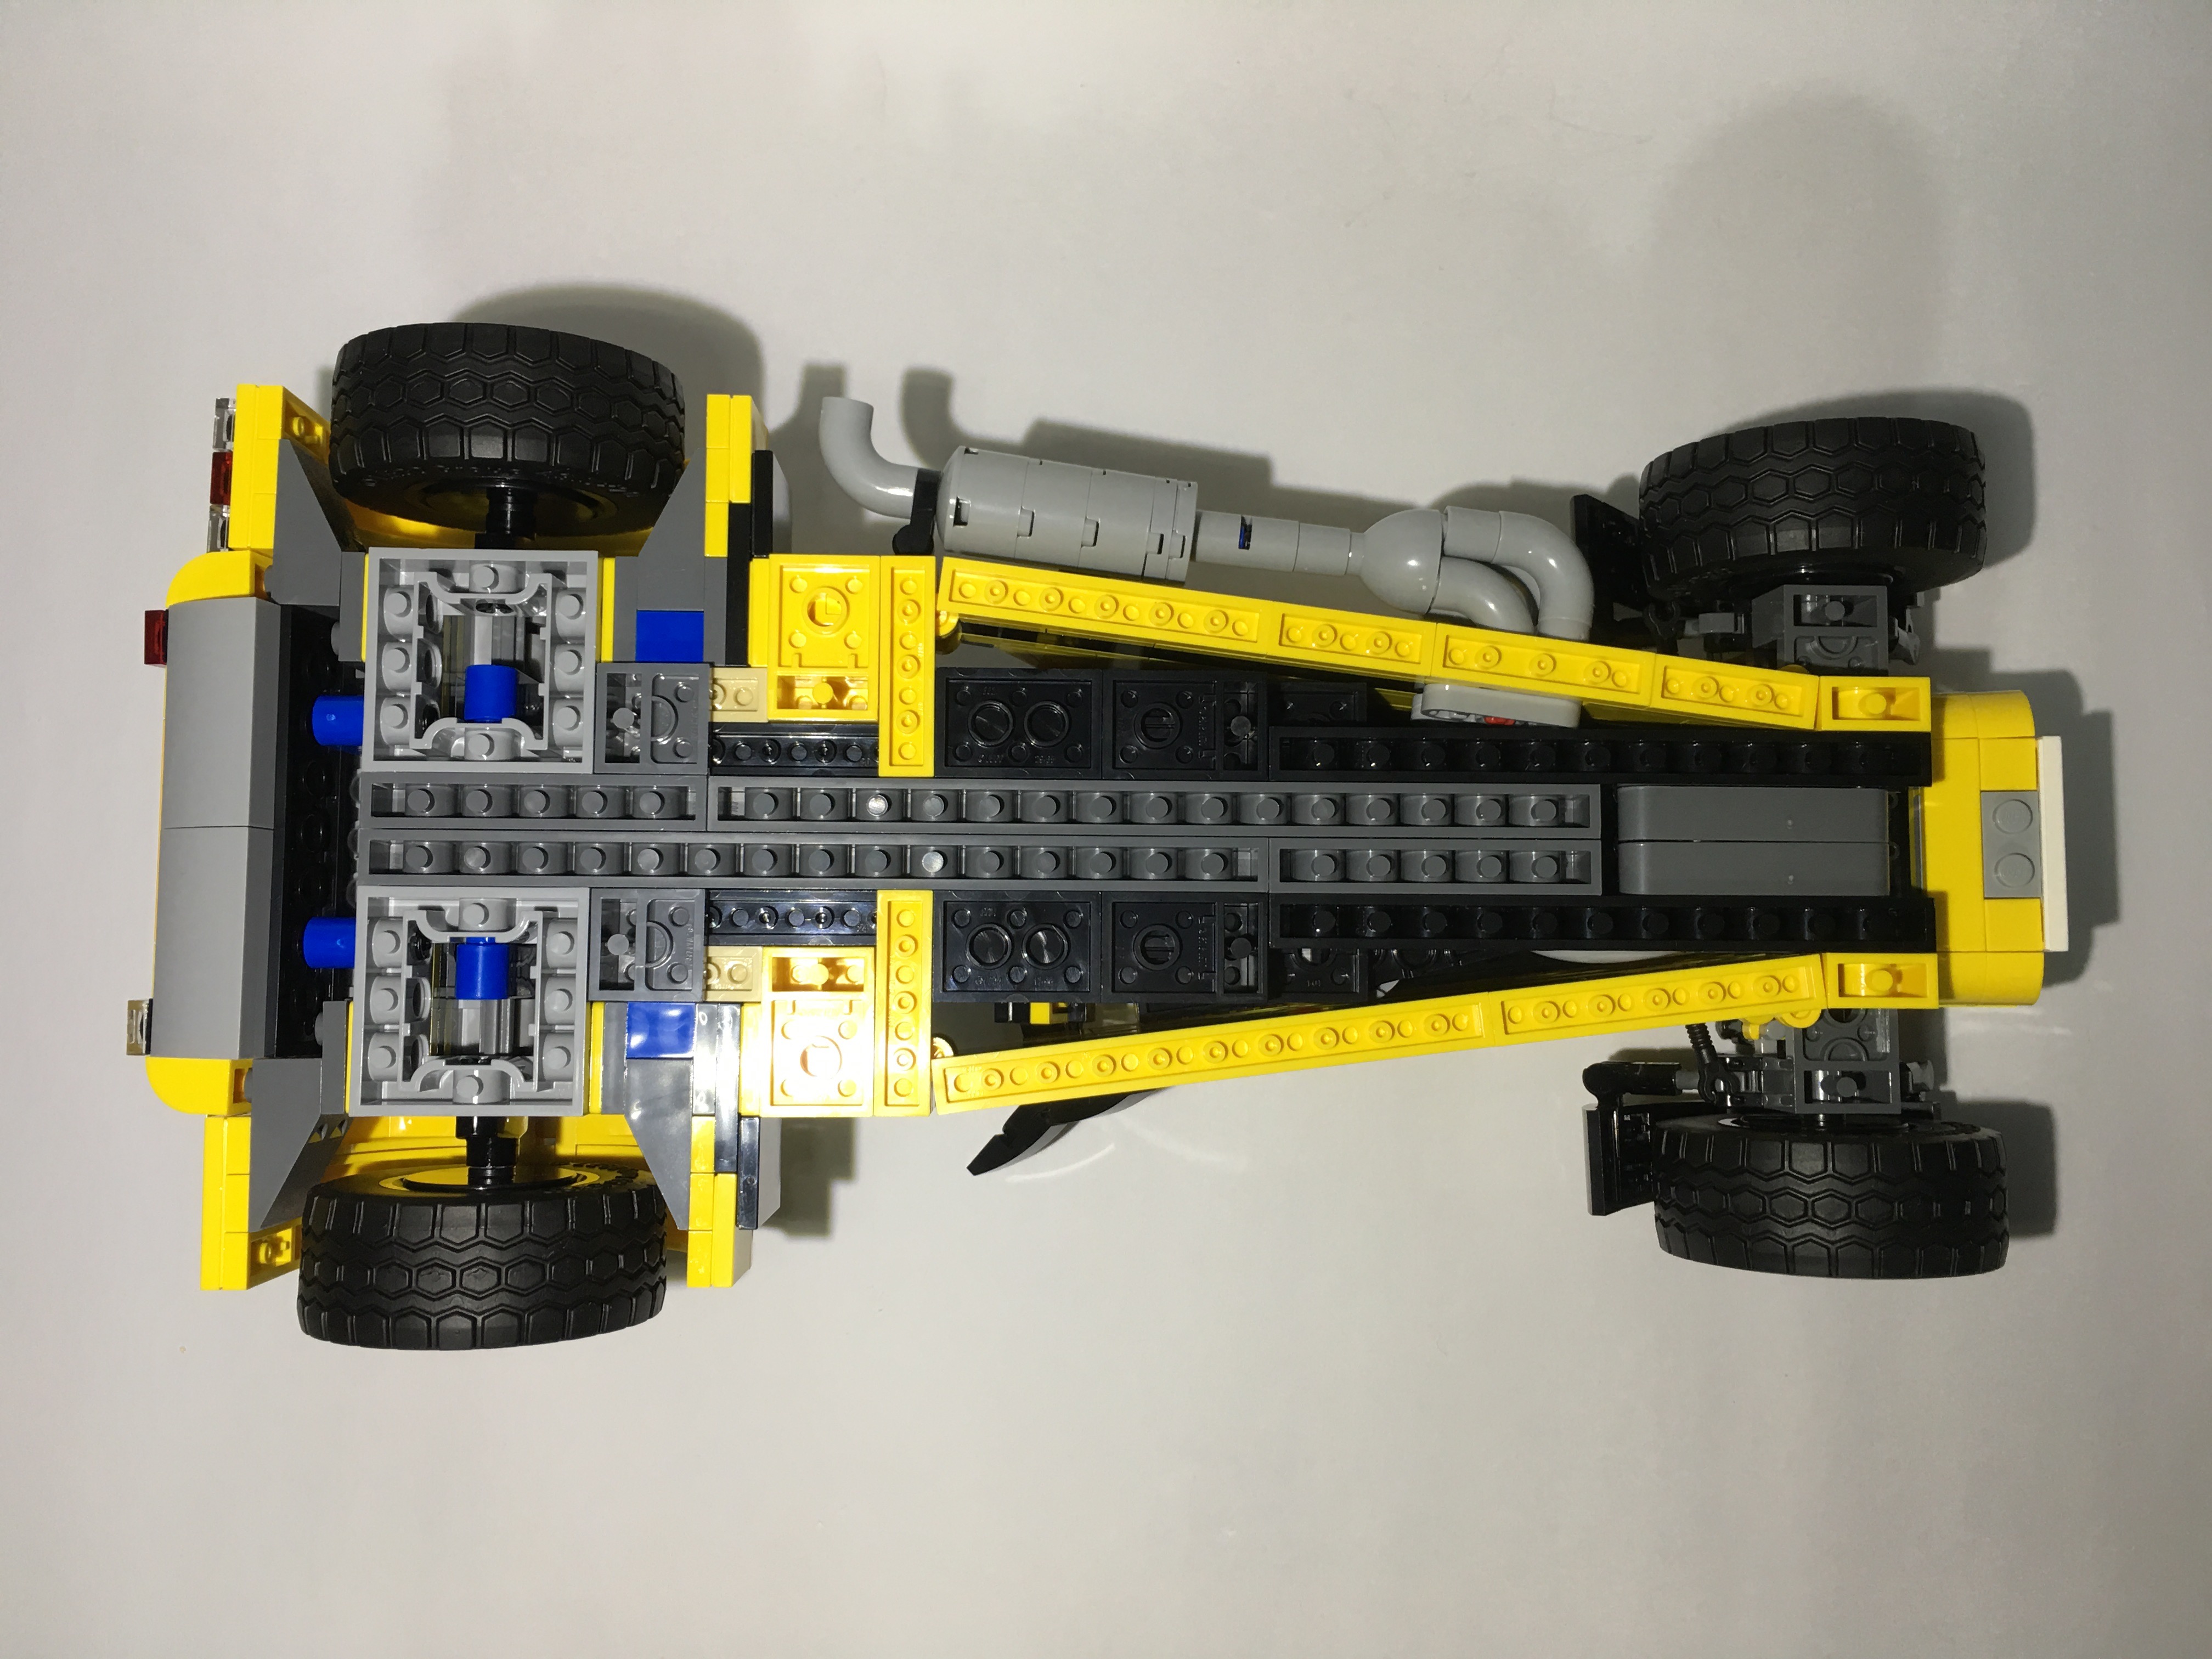
Below is the close up shots of the supercharged 2.0 litre engine with 310 BHP. Notice the use of the pistol elements in the engine build.
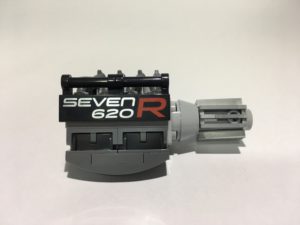

This is a shot of how the engine fits into the car, which could be easy taken out. The whip element is used as a tube that connects to the oil tank (I think it is).
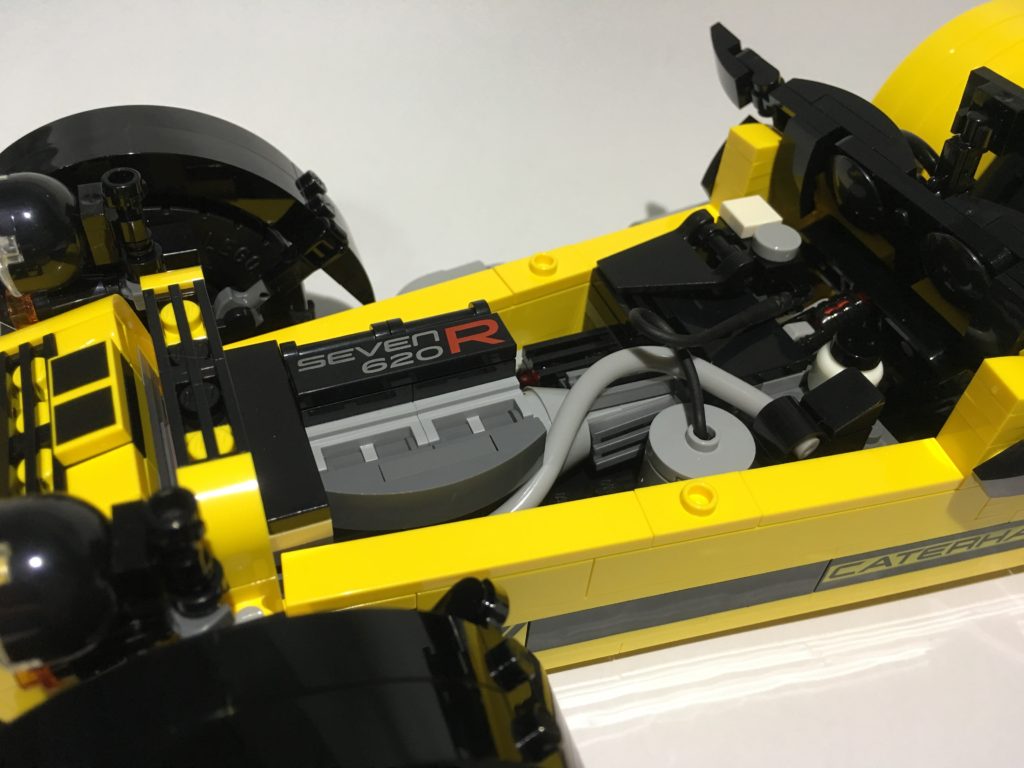
The engine cover can be removed to expose the engine mechanics inside as you can see from the photo above. Below is the photo of the bottom view of the engine cover. I did a mistake while building this earlier (see if you can identify from the time-lapse video portion). Not a difficult build for this, but just need to be careful when building as there are several layers of plates, and one wrong build required you to tear between layers.
Check out the close up shot of the car dashboard with the steering wheel. I personally quite like the elements used for the clutch and handbrake. Do note that the front panel is quite shaky since it is supported by only one technic joint.
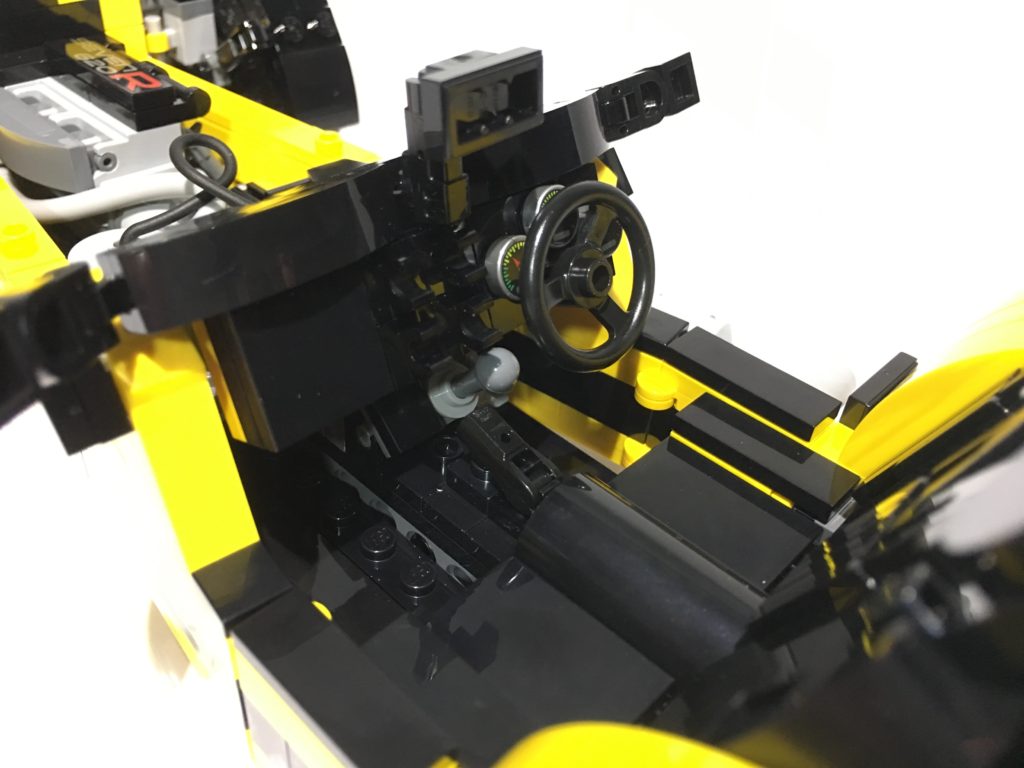
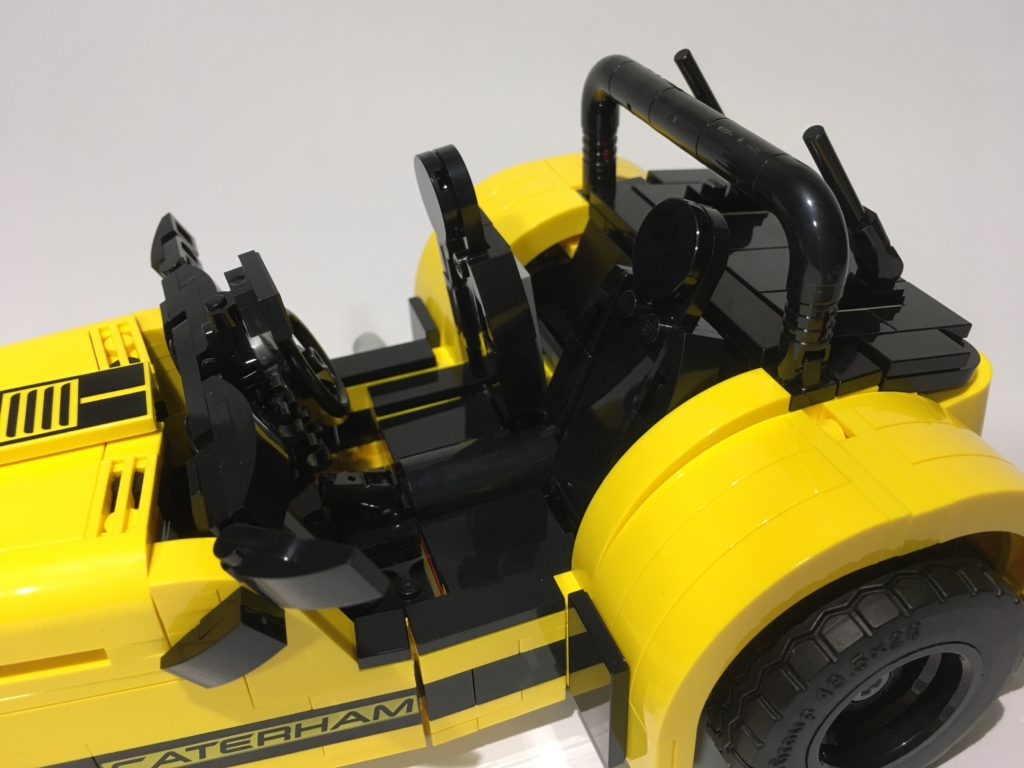
The 2 carbon-fibre seats has about 30 degrees movable axis.
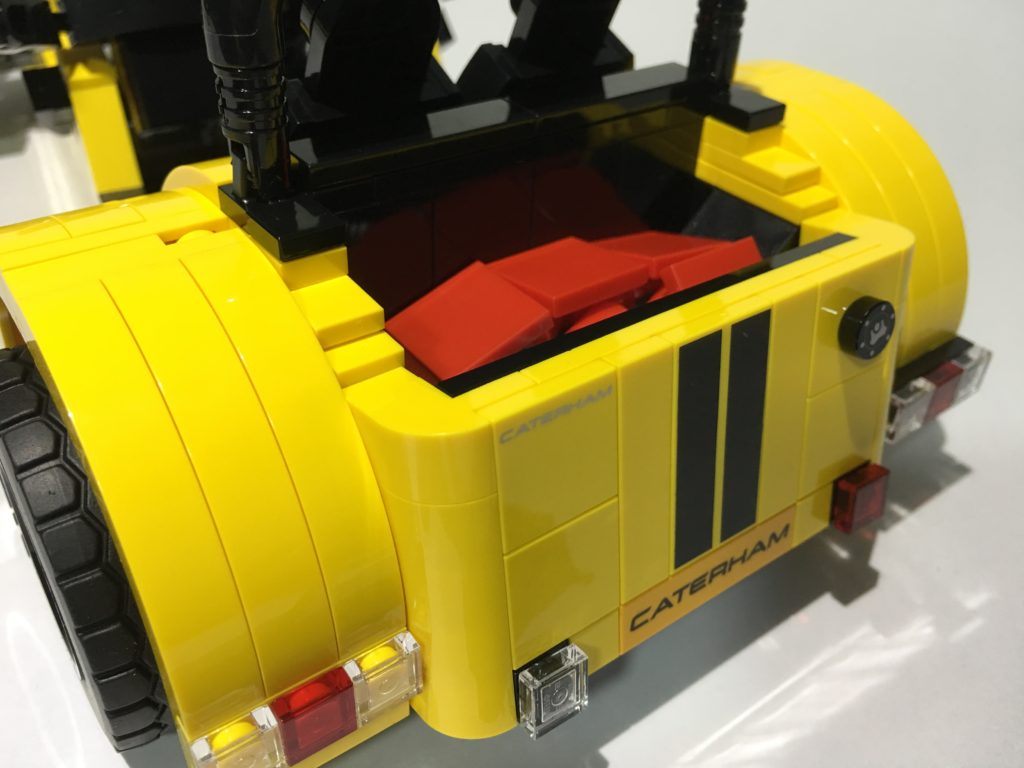
The boot cover is removable and you can store the red stands inside. Do note you have to separate the 2×2 tiles in order to fit everything inside the boot.
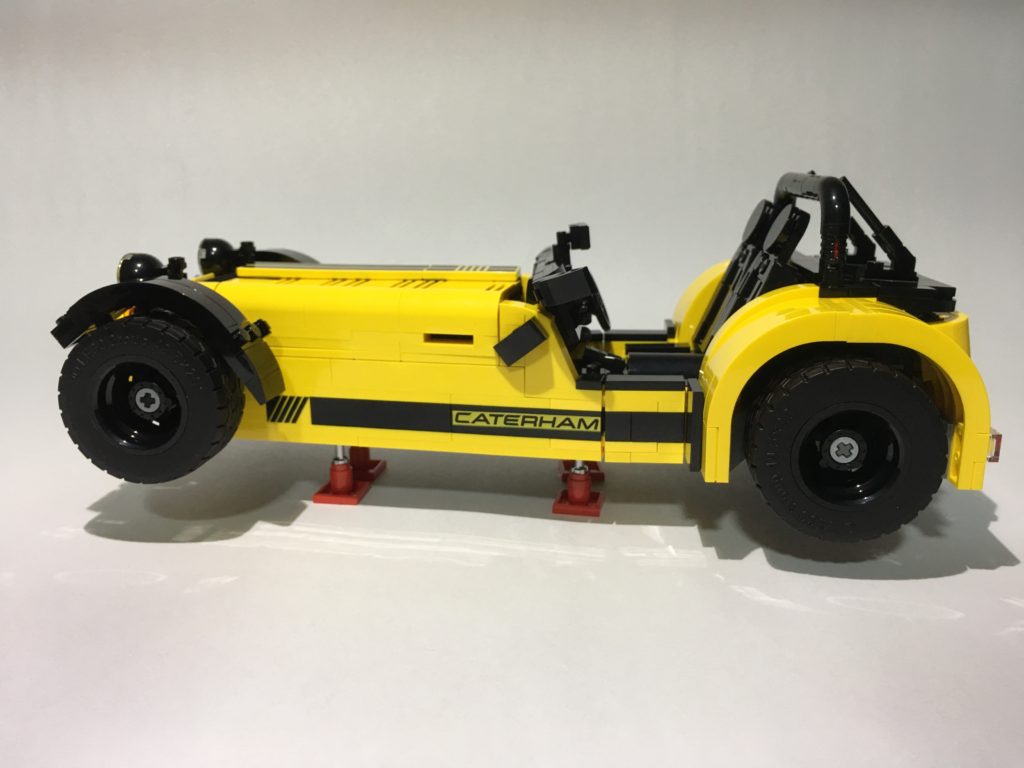
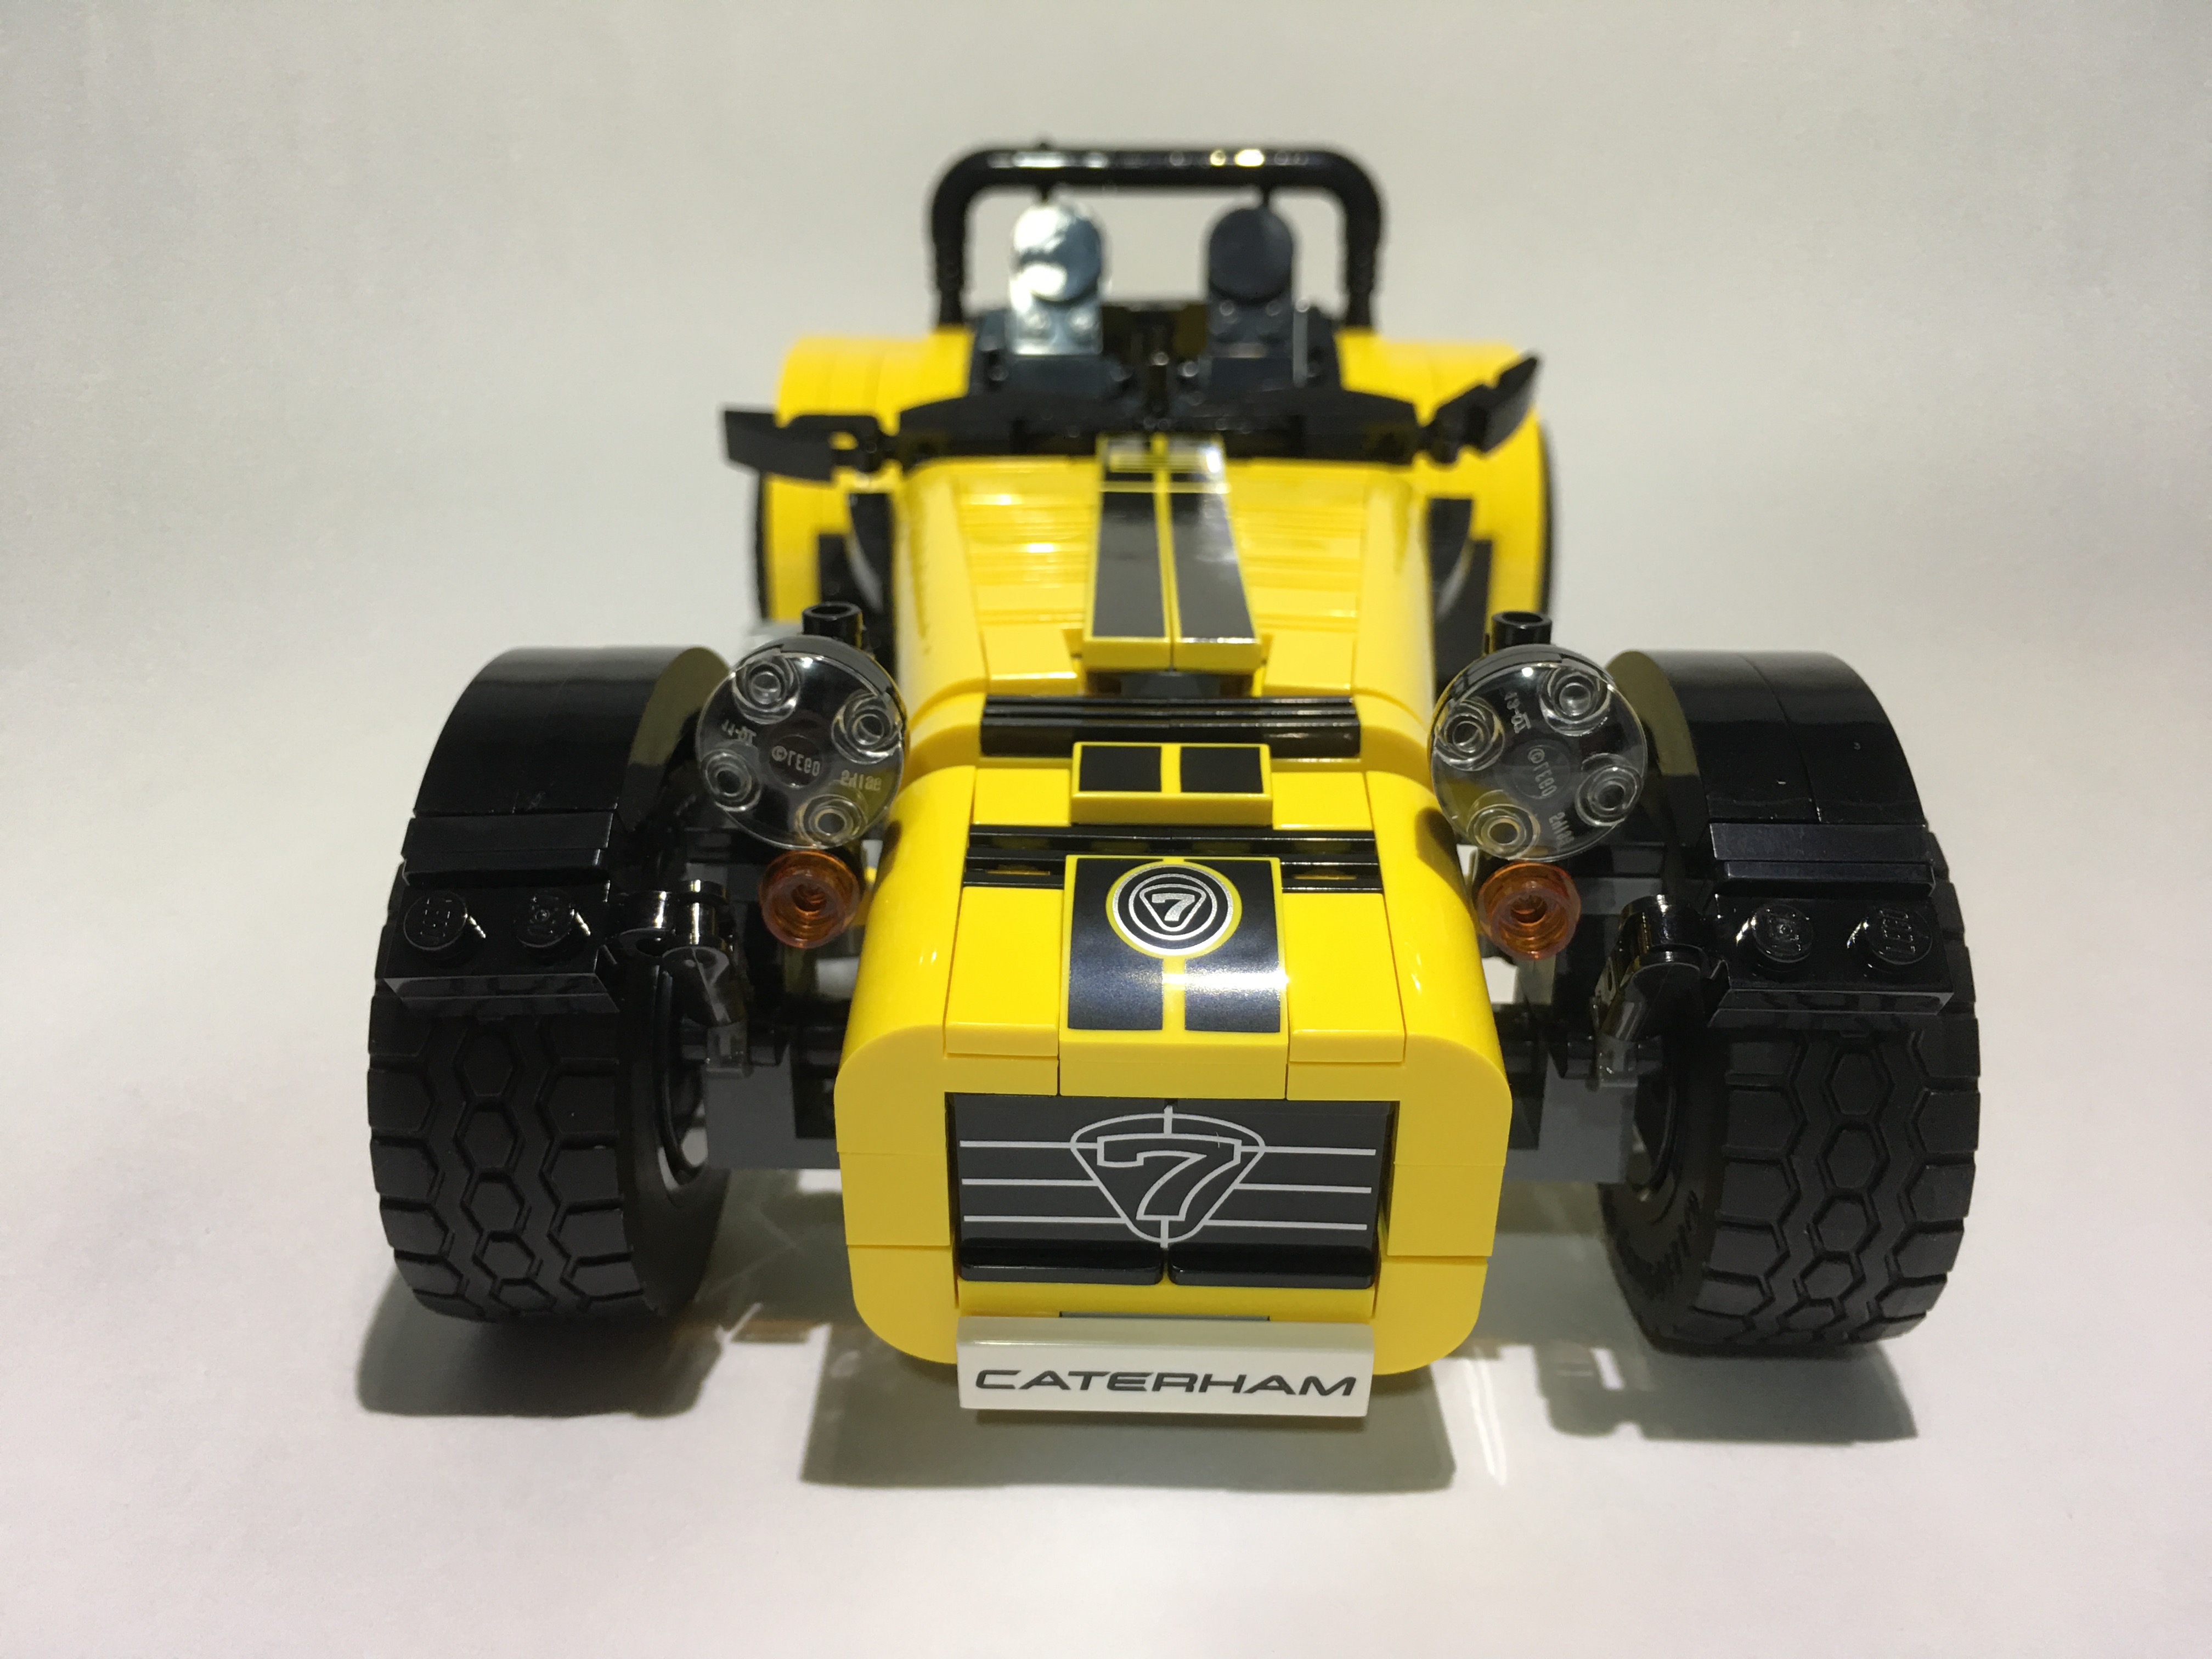
A photo of the Caterham with the 4 stands fixed underneath.
Check out the 360 view of the final build. You can take control of the viewing angle by dragging left and right, and you can even view it full screen.

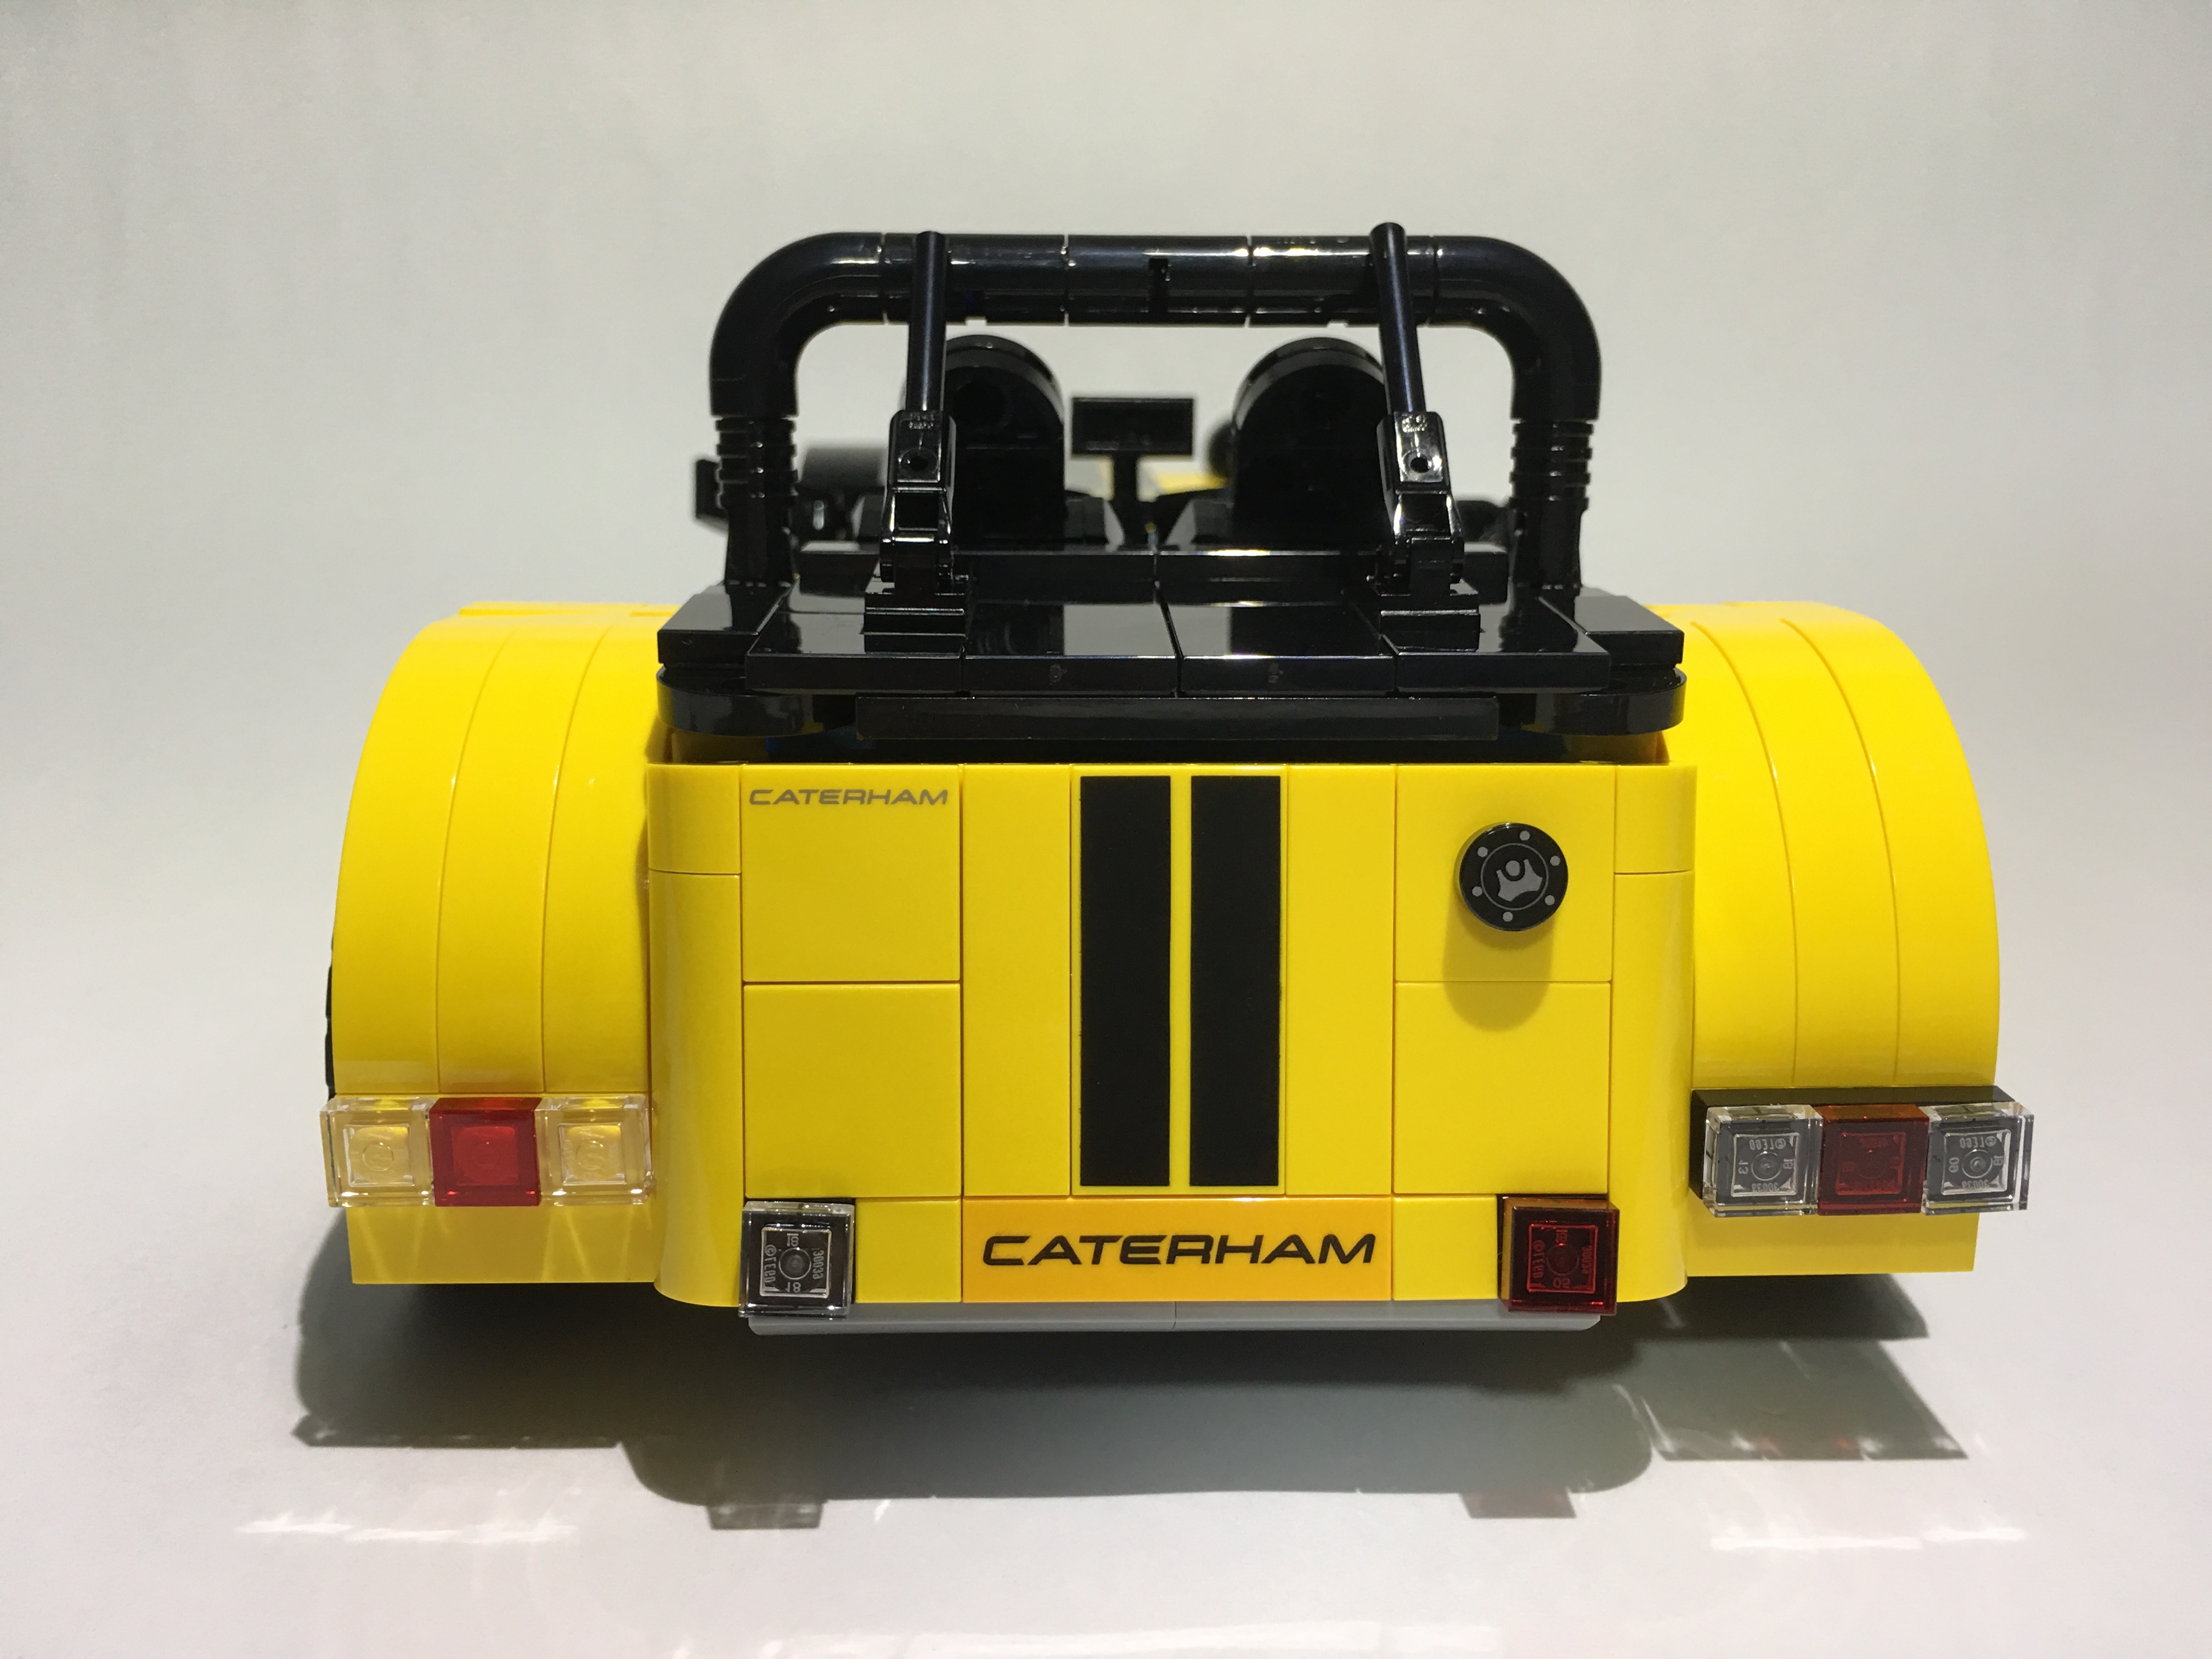
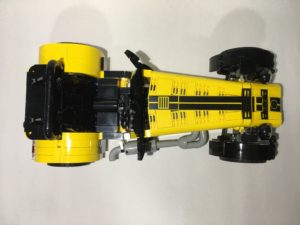
Below are more photos of the final view from various positions. (click to zoom-in)


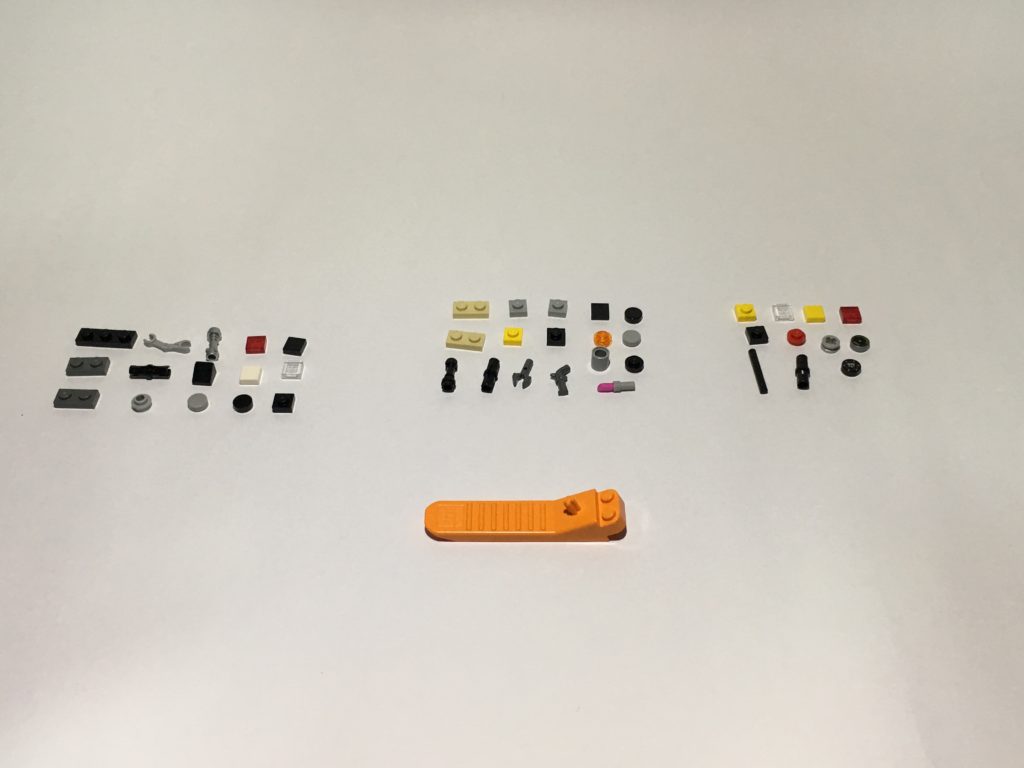
Below are the remaining pieces after the build is done. Notice the 1 x 3 black plate and a few 1 x 2 plates? I guessed I have to checked my build again, as I might have missed out one.
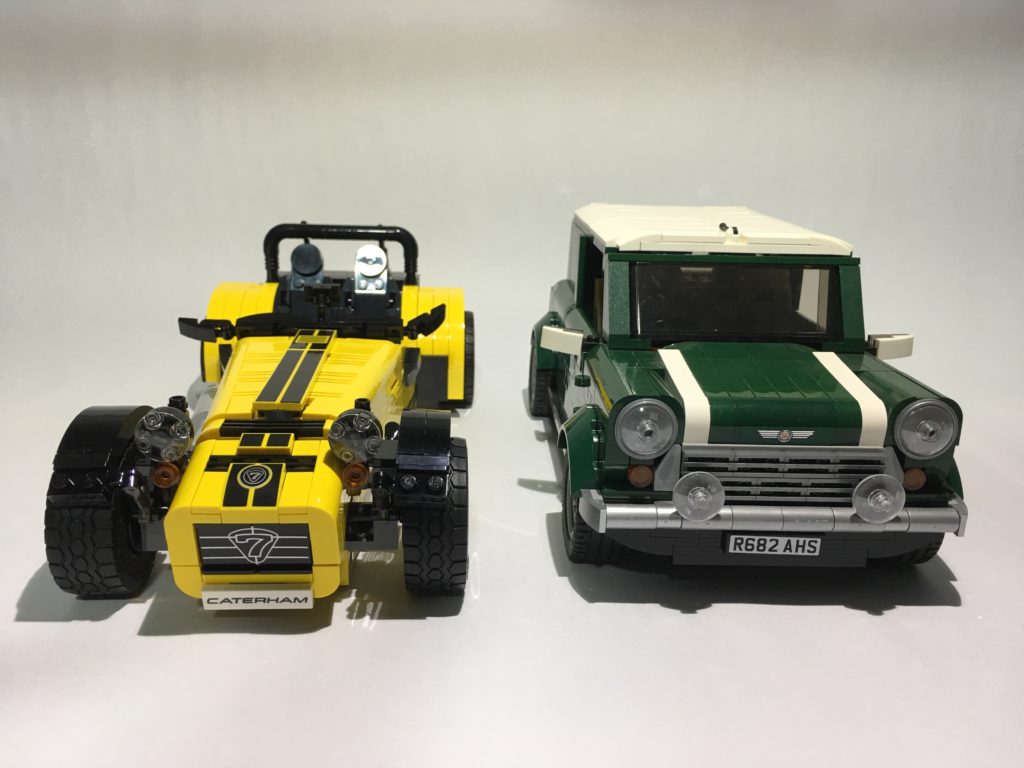
Side by side with the Mini Cooper. The Caterham is slightly longer than the Mini Cooper.
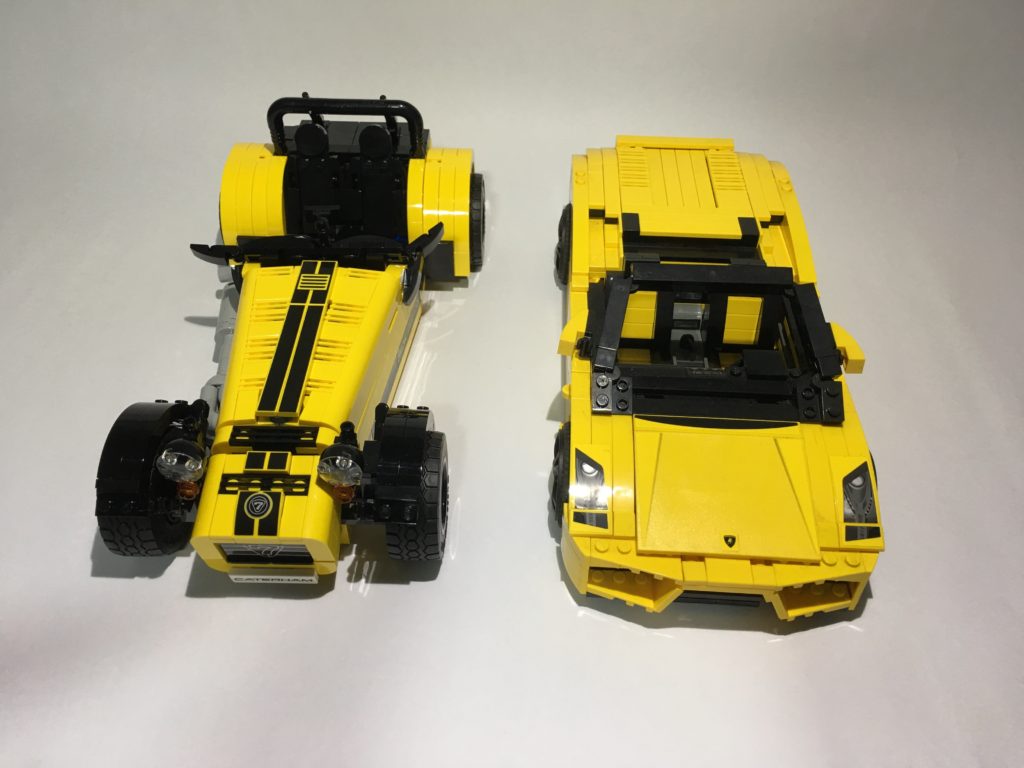
The Caterham colour combination reminds me of 8169 – Lamborghini Gallardo LP that was released few years back. Check out the side by side combination below. Both sets are a class of their own and I enjoyed the building process for both sets.
Conclusion:
The Caterham is a good build with some building techniques that is not common (e.g., the use of lipstick element in the exhaust pipe). The best thing of course is there are no stickers! The handling of the car will need some getting use to, as there is not much space allowance at the bottom for the fingers to get a full grip.
Hope that you guys enjoyed this review as much as I enjoyed building it. 🙂
Last but not least, big thanks to AFOL Relations & Programs, LCE Team for the opportunity to do this review.